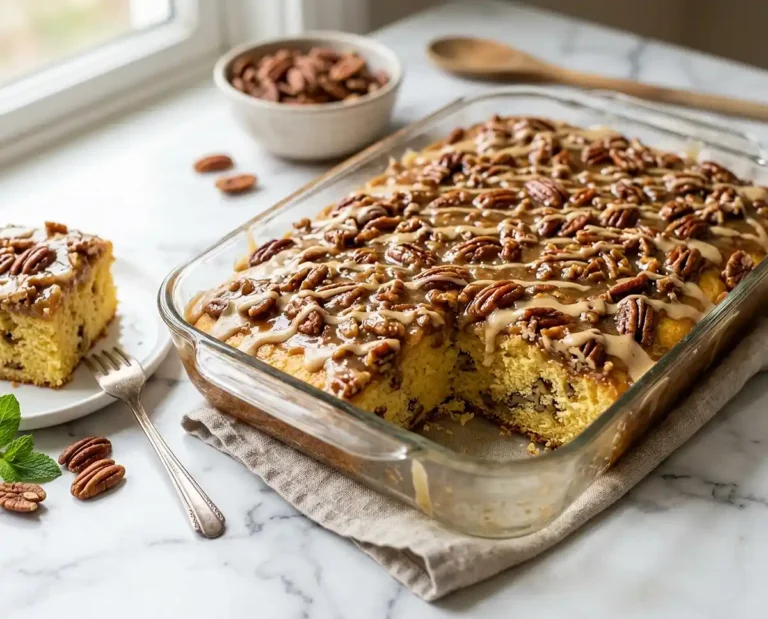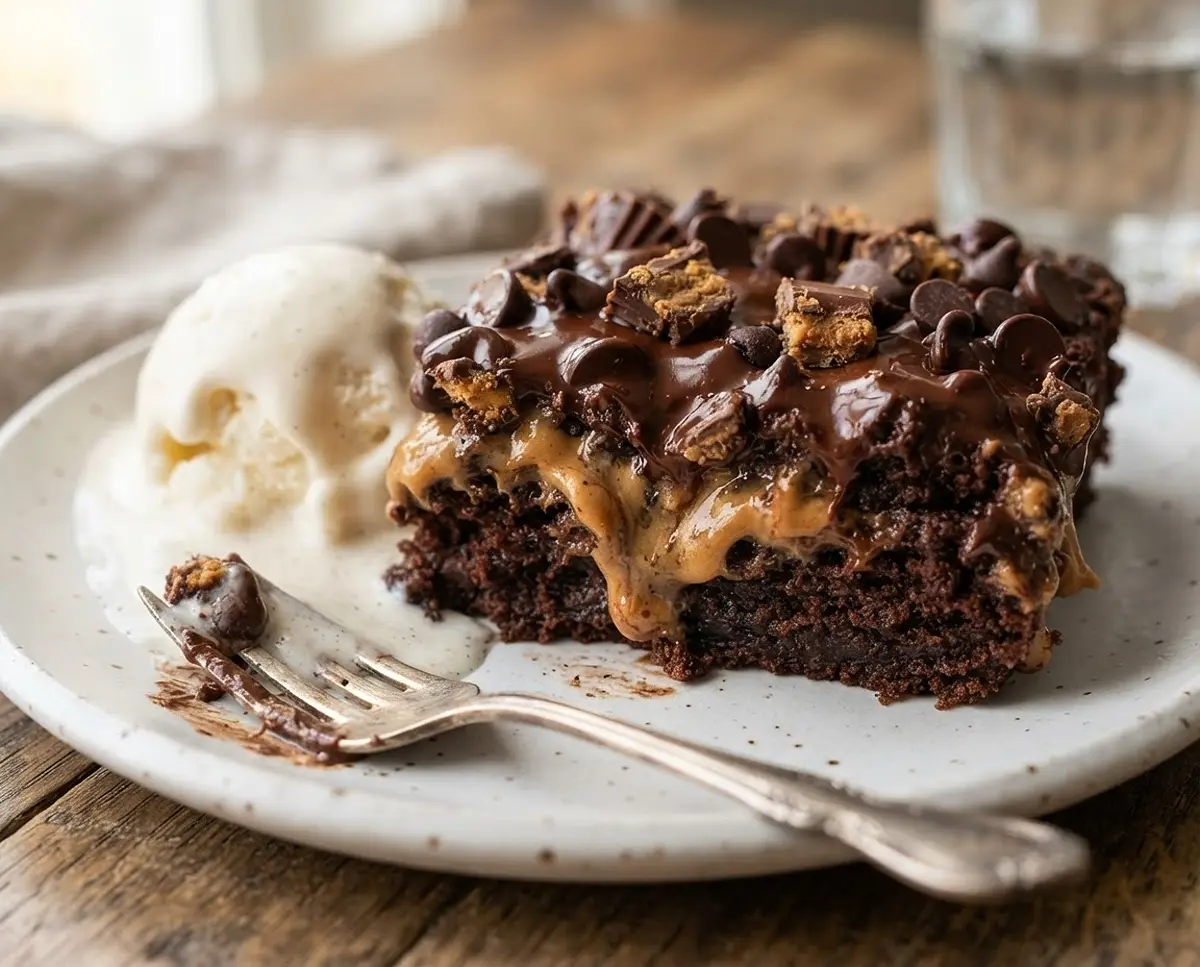
Chocolate Peanut Butter Dump Cake Recipe
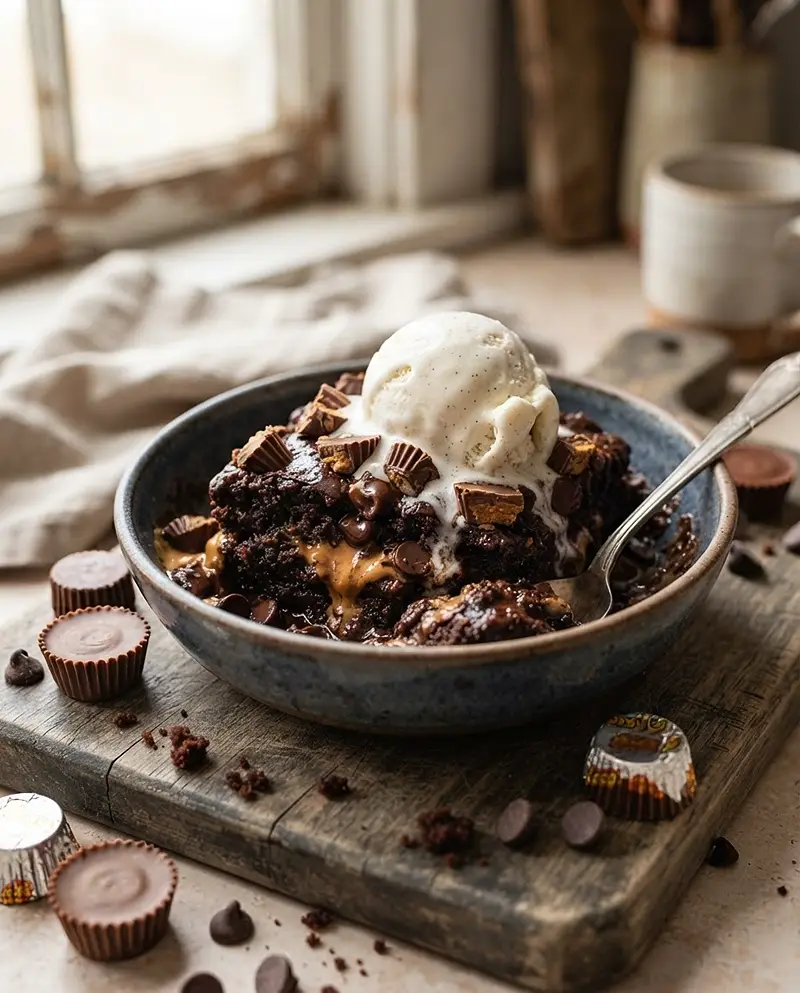
Chocolate Peanut Butter Dump Cake Recipe is rich, gooey, and incredibly easy. Serve this warm, simple dessert with a scoop of ice cream.
Chocolate Peanut Butter Dump Cake Recipe is the kind of dessert that checks all the right boxes: rich, gooey, easy, and seriously comforting. Served warm with ice cream, it’s a simple treat that feels like the perfect ending to dinner.
If you love the combination of chocolate and peanut butter, this is one to keep handy. It’s an easy dessert for a cozy night at home, especially when you want something warm and indulgent without making dessert complicated.
Table of Contents
Why You’ll Love This Chocolate Peanut Butter Dump Cake
It’s fudgy, gooey, and deeply chocolatey, with a creamy peanut butter layer at the bottom. You only need one pan and no mixing bowl, so cleanup takes about a minute. It’s a great match for a peanut butter chocolate dessert craving, and the optional chocolate chips and peanut butter cups make it as rich as you want. And it’s easy enough for beginners, since there’s no batter to mix.
What Ingredients Do You Need for Chocolate Peanut Butter Dump Cake?
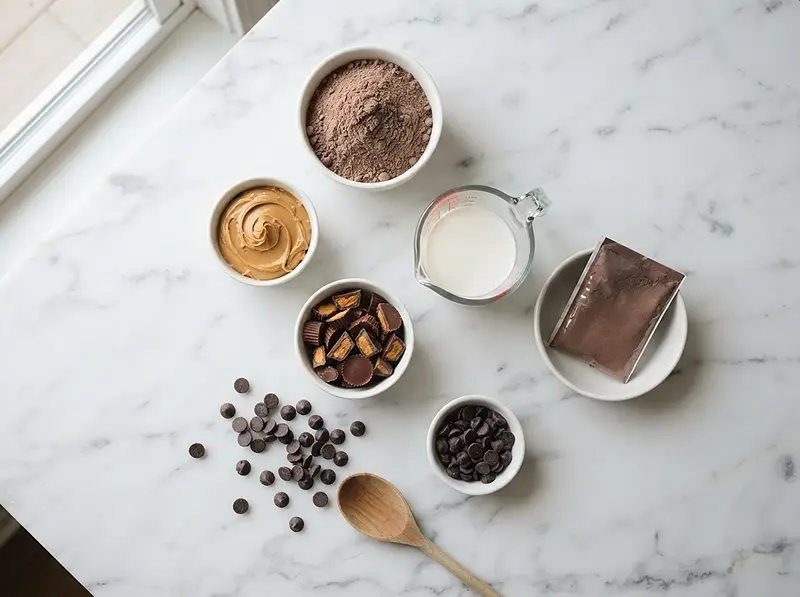
| Ingredient Group | Ingredient | Amount | Notes |
|---|---|---|---|
| Cake Layers | Chocolate cake mix | 1 box | Dry, used as-is |
| Cake Layers | Creamy peanut butter | 1 cup | Spread on pan bottom |
| Cake Layers | Milk | 1 cup | Poured over, not stirred |
| Toppings | Chocolate chips | 1 cup | Optional |
| Toppings | Peanut butter cups, chopped | 1 cup | Optional |
| Extras | Instant chocolate pudding | 1 package | Optional |
Creamy peanut butter and a boxed chocolate cake mix are what make this an easy dump cake recipe with almost no prep. The chocolate chips and chopped peanut butter cups turn it into an extra-gooey treat, so use them if you want a richer top.
Two gaps to flag: the recipe doesn’t give a cake mix box size or a pudding package size, and it doesn’t say where the instant pudding goes in the steps. Use standard-size packages, and check the pudding package for guidance before adding it.
How to Make Chocolate Peanut Butter Dump Cake Step by Step
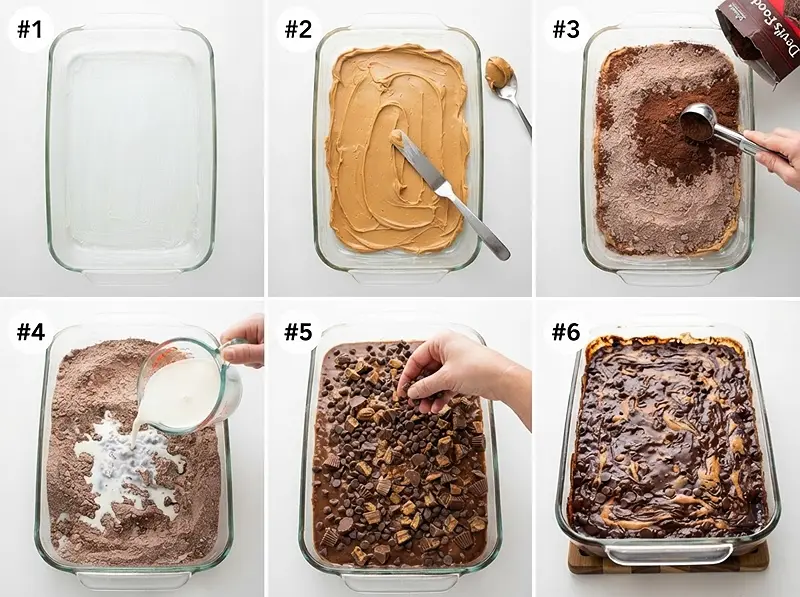
Prep the Pan
- Preheat your oven to 350°F (175°C).
- Grease a 9×13 inch baking pan.
💡 Grease the pan well, because the peanut butter layer sits on the bottom and can stick without it.
Build the Layers
- Spread the creamy peanut butter evenly across the bottom of the prepared pan.
- Evenly sprinkle the dry chocolate cake mix over the peanut butter layer.
- Slowly pour the milk over the cake mix, ensuring it is as evenly distributed as possible without stirring.
- If desired, sprinkle chocolate chips and chopped peanut butter cups over the top.
Pro Tip: Pour the milk slowly and evenly over the cake mix without stirring, because dry patches form when the milk pools in one spot.
💡 Spread the peanut butter all the way to the corners so every slice has a peanut butter base.
Bake and Serve
- Bake for 30-35 minutes, or until the cake is set and the topping is bubbly.
- Let cool slightly before serving.
- Serve warm with a scoop of ice cream, if you like.
Pro Tip: Look for a set center and a bubbly top at 30 to 35 minutes, because those are the signs the cake is done.
Expert Tips for Perfect Chocolate Peanut Butter Dump Cake
Pro Tips for Success
Don’t stir the layers. The key to a tender chocolate peanut butter dump cake is leaving the milk and cake mix alone. Stirring breaks up the layers and gives you a denser, uneven cake.
Cover every dry spot. The most common mistake is pouring the milk in one place. Instead, pour slowly and move around the pan so the cake mix is evenly moistened, or you’ll get floury patches on top.
Watch for the bubbles. For best results, bake until the top looks set and bubbly around the edges. I wish someone had told me this sooner: the center can look a little soft right out of the oven, but it firms up as it cools.
Spread the peanut butter with a spatula. Here’s the thing: cold peanut butter fights back. A rubber spatula and light pressure gets it into an even layer without tearing the greased pan surface.
Serve it warm. This peanut butter cake mix dessert works best when it’s warm, with a scoop of ice cream on the side. The chocolate is soft and gooey, and the ice cream melts into it.
Delicious Variations
Extra Chocolatey: Add the optional chocolate chips and the instant chocolate pudding for a richer, fudgier cake. Check the pudding package for how to work it in.
Peanut Butter Cup Loaded: Sprinkle the chopped peanut butter cups over the top for a candy-bar finish. They soften as the cake bakes and give you gooey pockets.
Simple Version: Skip all the optional ingredients and bake just the cake mix, peanut butter, and milk. You’ll still get a fudgy, peanut buttery dessert with almost no work.
Troubleshooting Common Problems
Problem: There are dry cake mix patches on top.
Solution: The milk wasn’t spread evenly. Pour slowly and cover the whole surface next time.
Problem: The cake looks too soft in the middle.
Solution: Bake until the cake is set and the topping is bubbly, and then let it cool slightly. It firms up as it rests.
Problem: The cake stuck to the pan.
Solution: Grease the pan thoroughly before adding the peanut butter. Serve straight from the pan while it’s warm.
Problem: The peanut butter layer is uneven.
Solution: Spread the peanut butter with a spatula all the way to the edges before adding the cake mix.
How to Store and Reheat Chocolate Peanut Butter Dump Cake
| Storage Method | Duration | Best Practice |
|---|---|---|
| Room Temperature | Up to 2 hours | Keep covered in the pan while serving |
| Refrigerator | Up to 3 days | Cover tightly so the top doesn’t dry out |
| Freezer | Not recommended | Texture can turn grainy after thawing |
Reheat a slice in the microwave for 15 to 20 seconds, until the center is warm and gooey again. The top should look soft and glossy, not dry. Add a scoop of ice cream after warming.
Leftover cake makes a great next-day dessert. Crumble it over vanilla ice cream, or layer pieces with whipped topping in a cup.
FAQs About Chocolate Peanut Butter Dump Cake
Can I make chocolate peanut butter dump cake ahead of time?
Yes. Bake the cake, let it cool, then cover and refrigerate for up to 3 days. Reheat individual slices before serving.
Can I skip the chocolate chips and peanut butter cups?
Yes, both are optional. The cake will still be fudgy and peanut buttery. The extras just make the top gooier and richer.
Why shouldn’t I stir a dump cake?
Dump cakes bake in layers. Stirring breaks up the layers and gives you a denser, uneven cake, so pour the milk slowly and leave everything as it is.
How do I know when the cake is done?
Bake for 30 to 35 minutes, until the cake is set and the topping is bubbly. The center firms up further as it cools.
Can I freeze chocolate peanut butter dump cake?
Freezing isn’t recommended. The texture can turn grainy after thawing, so it’s better to enjoy the cake within 3 days.
Go Bake Your Dump Cake
Seriously, this is the easiest chocolate peanut butter dessert you’ll make all month. Pin this recipe to your dessert board so you can find it next time a craving hits. And if you make it, leave a comment and tell me how yours turned out. I mean it, I love hearing from you.
While you’re in a dessert mood, try this chocolate peanut butter sheet cake, this 4-ingredient yogurt cake, or a pan of brownie batter cookie bars.
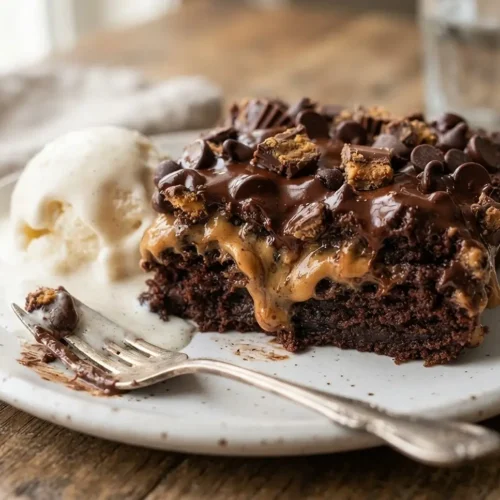
Chocolate peanut butter dump cake with a gooey peanut butter base, fudgy chocolate cake, and a bubbly top. Save this easy dump cake recipe to your dessert board!
Chocolate Peanut Butter Dump Cake
Equipment
- 9×13 inch baking pan
- Rubber spatula
Ingredients
Cake Layers
- 1 box chocolate cake mix dry, used as-is
- 1 cup creamy peanut butter
- 1 cup milk
Toppings
- 1 cup chocolate chips optional
- 1 cup peanut butter cups, chopped optional
Extras
- 1 package instant chocolate pudding optional
Instructions
- Preheat your oven to 350°F (175°C).
- Grease a 9×13 inch baking pan.
- Spread the creamy peanut butter evenly across the bottom of the prepared pan.
- Evenly sprinkle the dry chocolate cake mix over the peanut butter layer.
- Slowly pour the milk over the cake mix, ensuring it is as evenly distributed as possible without stirring.
- If desired, sprinkle chocolate chips and chopped peanut butter cups over the top.
- Bake for 30-35 minutes, or until the cake is set and the topping is bubbly.
- Let cool slightly before serving. This cake is often served warm with a scoop of ice cream.