Soy Sauce Cured Egg Yolk
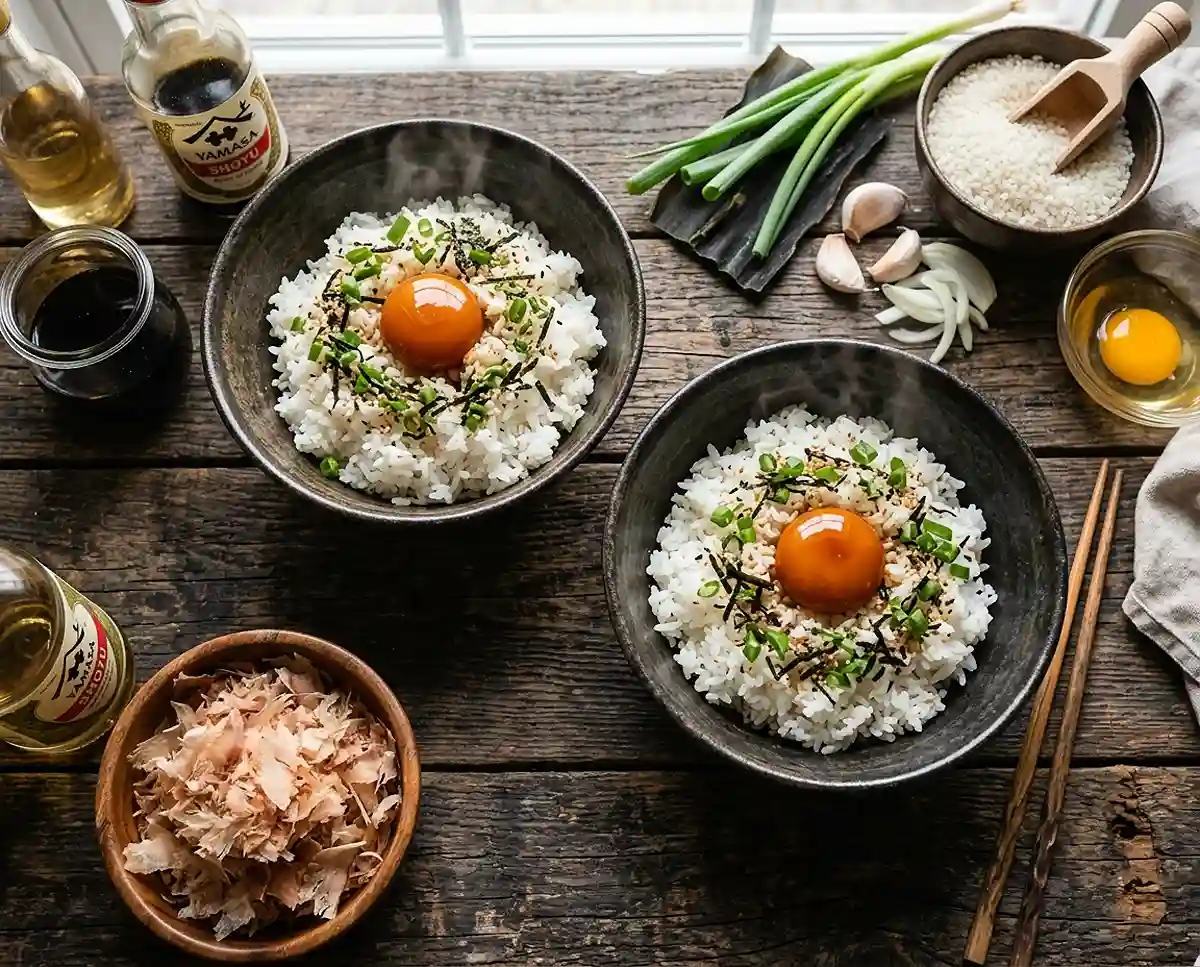
This soy sauce cured egg yolk recipe turns four ingredients into rich, jammy yolks perfect for rice bowls, ramen, or toast, ready in as little as 4 hours.
This soy sauce cured egg yolk recipe uses a soy sauce and mirin marinade to turn raw egg yolks into a glossy, umami-rich topping in as little as 4 hours.
This version makes 8 to 10 cured yolks, delivers a jammy, savory-sweet result, and works well for weeknight rice bowls, ramen night, or a make-ahead appetizer. Here’s everything you need to make it perfectly.
I started making this soy sauce cured egg yolk recipe after a bowl of ramen with a cured yolk on top wrecked me in the best way. Turns out you don’t need a restaurant kitchen for it. Four ingredients, one container, and your fridge does the rest.
Table of Contents
Why You’ll Love This Soy Sauce Cured Egg Yolk Recipe
You get a yolk that’s silky and almost custardy, with a salty-savory punch that works on rice, noodles, or toast. It comes together with pantry staples and zero cooking. And because you control the marinating time, you can dial in exactly how firm or runny you want the center.
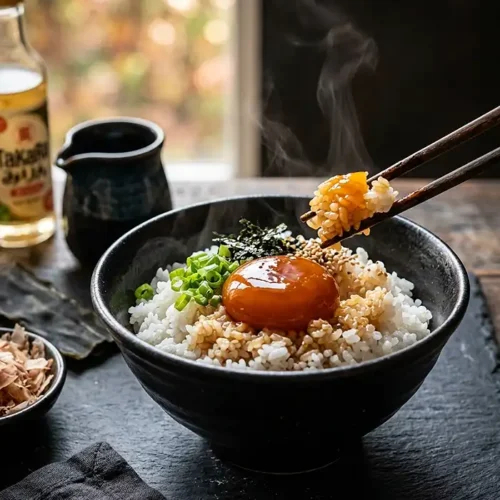
Soy Sauce Cured Egg Yolks
Ingredients
- ½ cup soy sauce base of the marinade
- 2 tablespoons mirin adds sweetness
- 8-10 pasteurized egg yolks keep yolks intact
- ¾ cup soy sauce base of the marinade
- ¼ cup mirin adds sweetness
- ½ cup water dilutes the marinade
- 1 clove garlic minced
- ¼ small onion sliced
- ½ sheet kombu Japanese kelp
- ¼ cup bonito flakes adds umami
- optional garlic, ginger, or chili flakes for extra flavor
Instructions
- For the simple marinade, mix soy sauce and mirin together in a medium container.
- For the extra umami marinade, combine soy sauce, mirin, water, garlic, onion, kombu, and bonito flakes in a medium container.
- If using the extra umami marinade, make it up to 1 day ahead if desired so the kombu and bonito can fully flavor the liquid.
- Carefully separate the pasteurized egg yolks from the whites, keeping each yolk intact.
- Gently place the egg yolks into the marinade, making sure they are fully submerged.
- If the yolks float, lay a soaked paper towel directly over the surface to keep them covered with marinade.
- Cover the container and refrigerate for 4 hours for runny yolks, 8 hours for jammy yolks, up to 24 hours for balanced texture, or 48 hours for firmer, saltier yolks.
- If not using the paper towel method, gently flip the yolks halfway through curing for even coverage.
- Use a spoon to gently lift the yolks from the marinade and let excess liquid drip off.
- Serve over rice, ramen, noodles, toast, or savory bowls.
Notes
What Ingredients Do You Need for Soy Sauce Cured Egg Yolks?
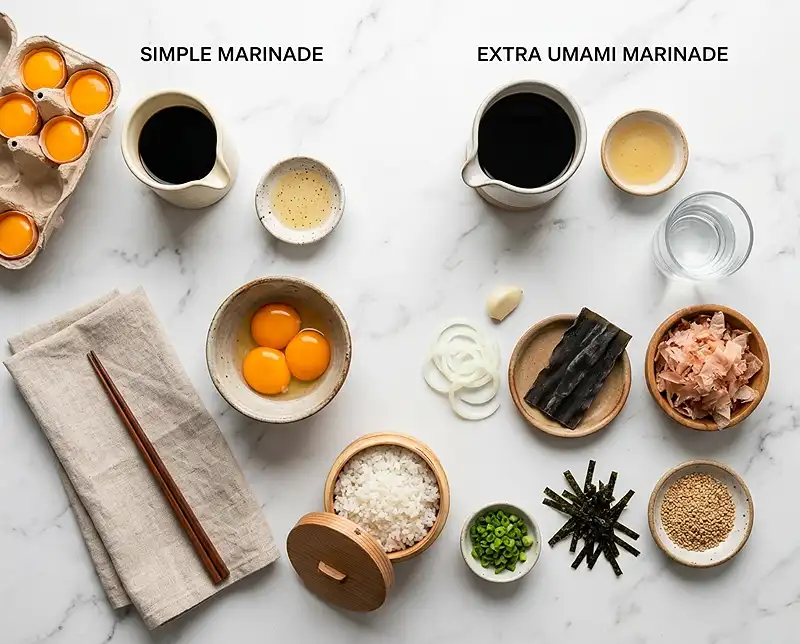
| Ingredient Group | Ingredient | Amount | Notes |
|---|---|---|---|
| Simple Marinade | Soy sauce | 1/2 cup | Base of the marinade |
| Simple Marinade | Mirin | 2 tablespoons | Adds sweetness |
| Simple Marinade | Pasteurized egg yolks | 8-10 | Keep yolks intact |
| Extra Umami Marinade | Soy sauce | 3/4 cup | Base of the marinade |
| Extra Umami Marinade | Mirin | 1/4 cup | Adds sweetness |
| Extra Umami Marinade | Water | 1/2 cup | Dilutes the marinade |
| Extra Umami Marinade | Garlic | 1 clove, minced | Adds depth |
| Extra Umami Marinade | Onion | 1/4 small, sliced | Adds depth |
| Extra Umami Marinade | Kombu | 1/2 sheet | Japanese kelp |
| Extra Umami Marinade | Bonito flakes | 1/4 cup | Adds umami |
Grab soy sauce, mirin, and pasteurized egg yolks for the simple version. If you want more depth, the extra umami version adds garlic, onion, kombu, and bonito flakes to the marinade.
The mirin balances out the saltiness of the soy sauce, and pasteurized yolks matter here since these aren’t cooked. Skipping pasteurized eggs is the one shortcut I wouldn’t take with a soy sauce cured egg yolk recipe like this.
How to Make Soy Sauce Cured Egg Yolks Step by Step
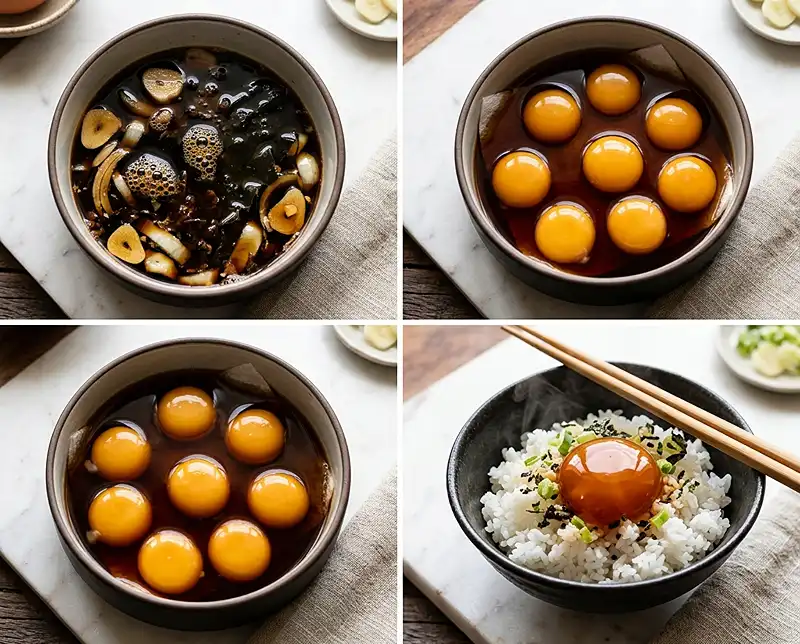
Prepare the Marinade
- Mix the soy sauce and mirin together in a medium container for the simple marinade. For the extra umami version, combine soy sauce, mirin, water, garlic, onion, kombu, and bonito flakes instead.
Pro Tip: The extra umami marinade can be made a day ahead so the kombu and bonito flakes have time to fully flavor the liquid.
Separate and Marinate the Eggs
- Carefully separate the egg yolks from the whites, taking care not to break them.
- Gently place the egg yolks into the marinade, making sure they’re fully submerged. If they float, lay a soaked paper towel over the yolks to keep them under the liquid.
Pro Tip: The key to an evenly cured yolk is full submersion, so don’t skip the paper towel trick if your yolks keep floating to the top.
Refrigerate and Serve
- Cover the container and refrigerate for your desired curing time: 4 hours for runny yolks, 8 hours for jammy ones, up to 24 hours for a sweet spot, and 48 hours for firmer, saltier yolks.
- Use a spoon to gently lift the yolks out and serve them over rice, noodles, or toast.
Pro Tip: This soy sauce cured egg yolk recipe works best when the yolks stay fully submerged the entire time, so flip them halfway through if you’re not using the paper towel method.
Expert Tips for Perfect Soy Sauce Cured Egg Yolks
Pro Tips for Success
For best results, use pasteurized egg yolks, since this recipe never involves cooking the eggs. That’s not a suggestion you should skip.
The most common mistake is pulling the yolks too early expecting a firm texture. Instead, give them at least 8 hours if you want that jammy, sliceable center.
Look for a deep amber color and a glossy sheen on the surface of the yolk as your doneness cue. That’s when you know the marinade has fully penetrated.
You can reuse the marinade once. Just boil it briefly to kill off any bacteria before storing it in the fridge for the next batch.
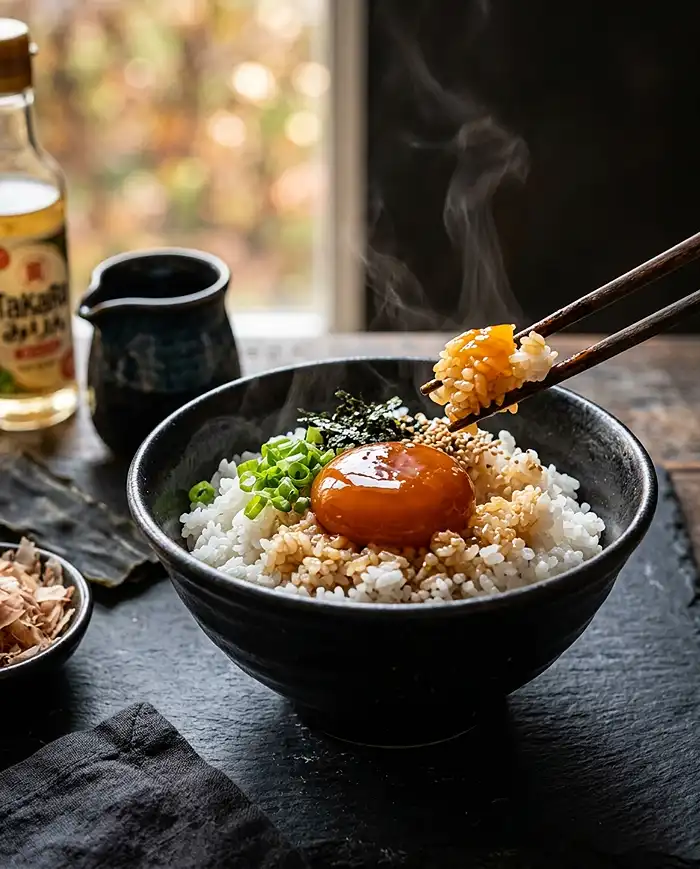
Delicious Variations
Want it faster? Stick with the simple two-ingredient marinade and pull the yolks at the 4-hour mark for a soft, barely-set center.
For more depth, go with the extra umami version. The garlic, onion, kombu, and bonito flakes turn this into something closer to a savory broth than a basic marinade.
No mirin in the pantry? Use equal parts sake and sugar instead. It won’t be identical, but it gets you close enough for a weeknight batch. Garlic, ginger, or chili flakes can also be added for extra flavor.
Troubleshooting Common Problems
Problem: The yolks won’t stay under the marinade.
Solution: Weigh them down with a soaked paper towel laid directly over the surface, or flip the yolks by hand every few hours instead.
Problem: The cured yolks taste too salty.
Solution: Shorten your curing time, or dilute the marinade slightly with a bit more water next round.
How to Store and Reheat Soy Sauce Cured Egg Yolks
| Storage Method | Duration | Best Practice |
|---|---|---|
| Room Temperature | Not recommended | Keep refrigerated since yolks are uncooked |
| Refrigerator | Up to 2 days once cured | Store in the marinade, tightly covered |
| Freezer | Not recommended | Texture breaks down when thawed |
Reheating isn’t really the goal here since these are served cold or at room temperature straight from the fridge. Pull them out about 10 minutes before serving so the texture softens slightly.
Leftover marinade doesn’t have to go to waste. Boil it down with a splash of water and it becomes a quick glaze for grilled vegetables or a simple stir-fry.
Cured Egg Yolk Recipe Soy Sauce FAQs
How long can I marinate the egg yolks for a soy sauce cured egg yolk recipe?
Marinate for 4 hours for a runny yolk, 8 hours for a jammy texture, up to 24 hours for a balanced flavor, or 48 hours for a firmer, saltier yolk. The longer the yolks sit, the more the marinade penetrates and firms them up.
Can I use regular eggs instead of pasteurized eggs?
Pasteurized egg yolks are recommended since this recipe is never cooked. Using unpasteurized eggs increases the risk of foodborne illness, so it is best to source pasteurized eggs when curing yolks this way.
Why did my cured egg yolks turn out too salty?
Marinating too long in a full-strength soy sauce marinade concentrates the salt in the yolk. Try a shorter curing time or dilute the marinade with a bit more water for a milder result.
Can I make this soy sauce cured egg yolk recipe ahead of time?
Yes. These yolks are meant to be made ahead, since they need time in the marinade to cure. Once cured, keep them refrigerated in the marinade and use within 2 days for the best texture.
What is the difference between the simple and extra umami marinade?
The simple marinade uses only soy sauce and mirin for a straightforward, salty-sweet flavor. The extra umami version adds water, garlic, onion, kombu, and bonito flakes for a deeper, more savory result.
Conclusion
Honestly, this is one of those recipes that looks fussy but really isn’t. Once you’ve made it once, you’ll want a batch curing in your fridge at all times, seriously.
Save this soy sauce cured egg yolk recipe to your favorite Pinterest board so you can find it again, and drop a comment below if you try the extra umami version.
If you’re building out more easy fridge staples, check out this soy cured egg yolk recipe for another take, or try the cottage cheese wrap recipe for your next meal prep session. For more on why pasteurized eggs matter in uncooked preparations, see the FDA’s guidance on egg safety.