Cherry Pie Bars
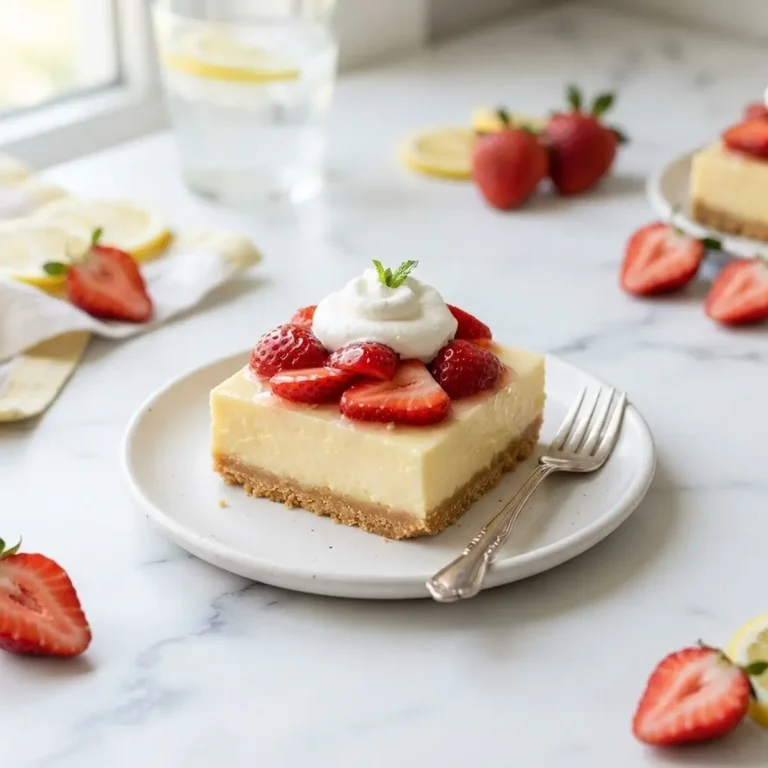
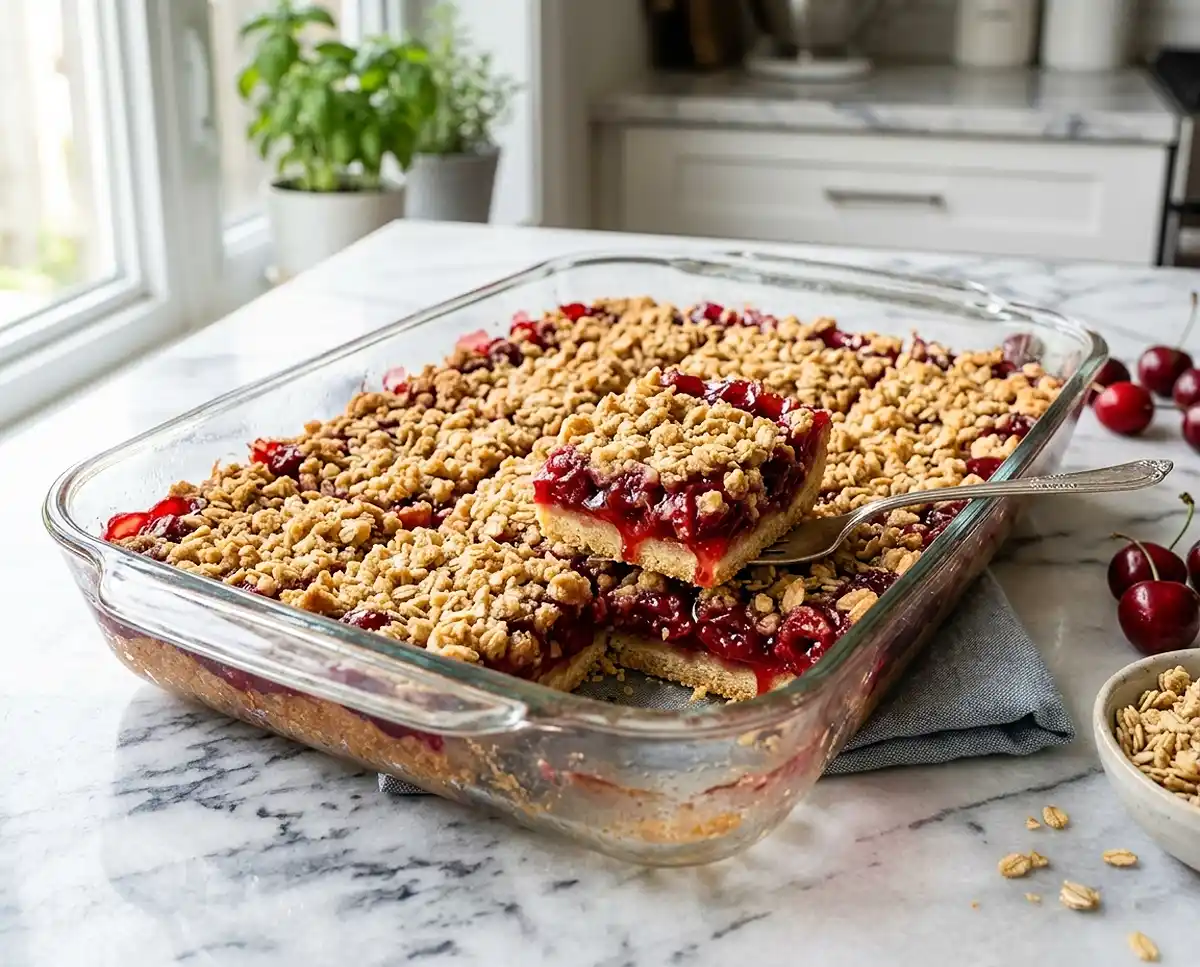
These easy Cherry Pie Bars taste like pie but skip the fuss. Buttery crust, sweet cherry filling, golden crumble — your new go-to dessert.
Cherry Pie Bars are a layered dessert made of a buttery shortbread crust, sweet cherry pie filling, and a golden crumb topping baked in one pan. This recipe serves 12, delivers a buttery, tender base with a juicy cherry middle and a crisp, golden crumble on top, and is perfect for potlucks, holiday dessert tables, or whenever you want pie without rolling out dough.
These cherry pie bars have that dangerous “I’ll just cut a small piece” energy—sweet, buttery, and exactly the kind of bake people wish they’d found before the next brunch spread came together. If this one’s tempting you, don’t miss more sweet brunch bake ideas.
I started making these cherry pie bars after one too many crumbly pie crust disasters, and they fixed the problem completely. The trick nobody tells you: pre-baking the crust for just 10 minutes keeps the bottom from going soggy under all that cherry filling.
Table of Contents
Why You’ll Love These Cherry Pie Bars
These cherry dessert bars give you everything you love about pie, minus the stress of a lattice crust. The base is buttery and tender, the cherry filling stays juicy without turning soupy, and the oat-flecked crumb topping adds real crunch. They cut into clean squares, so there’s no fighting with a pie server in front of guests. Great for anyone who wants homemade flavor without the rolling pin.
What Ingredients Do You Need for Cherry Pie Bars?
| Ingredient Group | Ingredient | Amount | Notes |
|---|---|---|---|
| Crust | All-purpose flour | 2 ¼ cups | Base of crust and crumb |
| Crust | Granulated sugar | ¾ cup | Sweetens crust |
| Crust | Cold unsalted butter, cubed | ¾ cup | Must stay cold |
| Crust | Salt | ½ teaspoon | Balances sweetness |
| Cherry Filling | Cherry pie filling | 2 cans (21 oz each) | Canned, ready to use |
| Cherry Filling | Almond extract | ½ teaspoon | Optional |
| Crumb Topping | Remaining crust mixture | As reserved | About 1 ½ cups |
| Crumb Topping | Rolled oats | ½ cup | Optional, adds crunch |
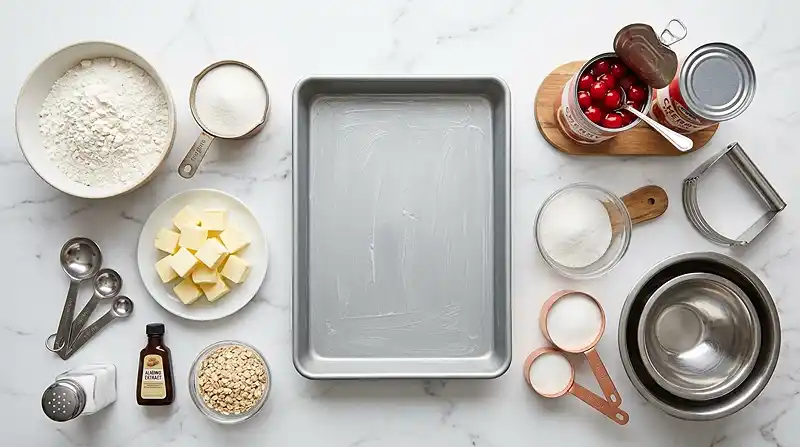
The same flour-butter-sugar mixture does double duty here, forming both the crust and the crumb topping, which is what makes this easy cherry pie bars recipe so efficient. Keeping the butter cold is non-negotiable — it’s what gives you that crumbly, shortbread-style texture instead of a dense, greasy base. A splash of almond extract in the cherry filling is optional, but it adds a depth that plain canned filling doesn’t have on its own.
How to Make Cherry Pie Bars Step by Step
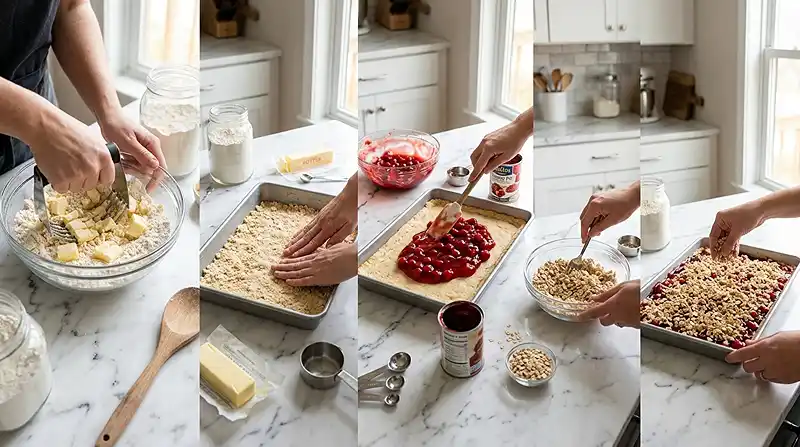
Prepare the Crust and Crumb Topping
- Preheat your oven to 375°F (190°C).
- Grease and flour a 9×13 inch baking pan.
- In a large bowl, combine the all-purpose flour, granulated sugar, and salt.
- Cut in the cold butter using a pastry blender, your fingertips, or a food processor until the mixture resembles coarse crumbs.
💡 Cold butter is what creates the crumbly texture in these cherry crumble bars — if it softens, pop the mixture in the fridge for a few minutes before continuing.
- Reserve about 1 ½ cups of this mixture for the crumb topping.
- Press the remaining mixture evenly into the bottom of the prepared baking pan to form the crust.
- Bake for 10-12 minutes, or until lightly golden.
- Remove from the oven.
Pro Tip: Pre-baking the crust for 10 to 12 minutes before adding the filling is what keeps the bottom from turning soggy.
Prepare the Cherry Filling
- In a medium bowl, combine the cherry pie filling and almond extract, if using.
- Spread the cherry filling evenly over the partially baked crust.
Add Crumb Topping
- To the reserved crumb mixture, add the rolled oats, if using, and mix well.
- Sprinkle this crumb topping evenly over the cherry filling.
Bake
- Return the pan to the oven and bake for an additional 25-30 minutes, or until the topping is golden brown and the filling is bubbly.
- If the topping browns too quickly, loosely tent it with aluminum foil.
💡 A loose foil tent stops the crumb topping from over-browning while the filling finishes bubbling underneath.
Cool and Serve
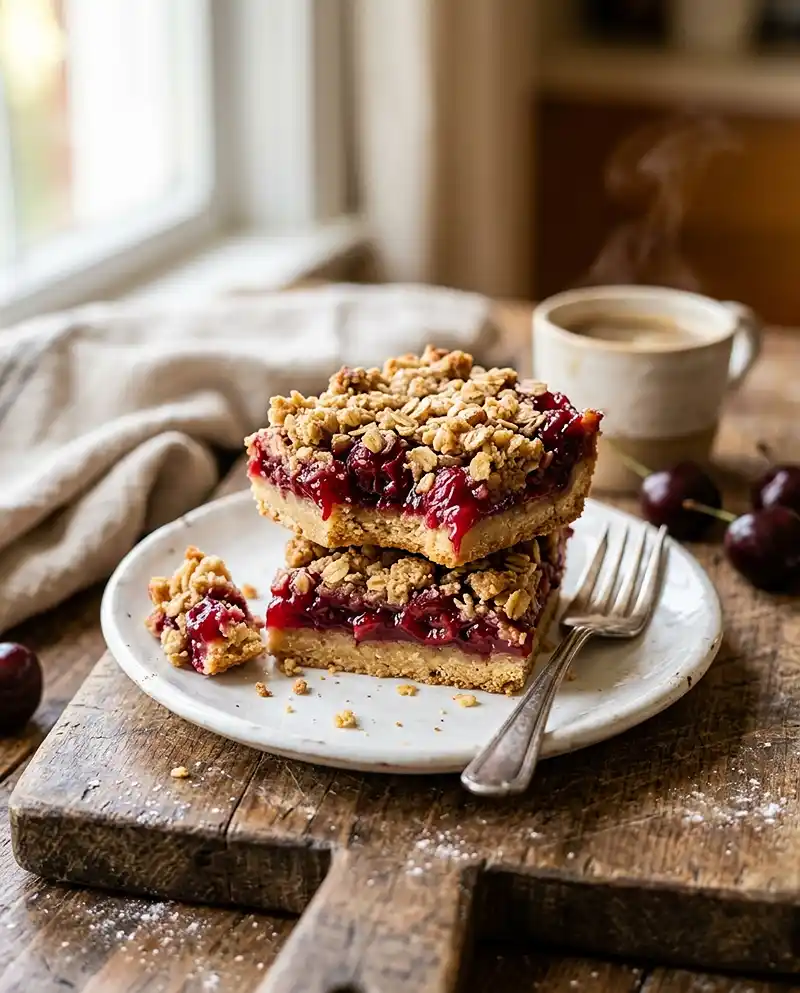
- Let the cherry pie bars cool completely on a wire rack before cutting into squares and serving.
Pro Tip: Cherry pie bars need to cool completely before slicing, or the filling won’t set and the squares will fall apart.
Expert Tips for Perfect Cherry Pie Bars
Pro Tips for Success
The key to clean-cut cherry pie bars is patience — cutting into them while they’re even slightly warm means the filling oozes and the squares lose their shape.
For best results, use a food processor to cut the butter into the flour if you have one. It keeps the butter cold and the crumbs even, which gives you a more consistent texture across the whole pan.
The most common mistake is skipping the pre-bake on the crust — instead, always bake it for those 10-12 minutes first, since an unbaked bottom layer turns gummy under the weight of the cherry filling.
Cherry dessert bars work best when the crumb topping is sprinkled loosely rather than packed down, since a looser topping bakes up crisp instead of dense.
I learned this one after a few too many soupy pans: let the bars sit on the wire rack for the full cooling time, even if the smell coming from your kitchen makes that hard.
Delicious Variations
Alternative Ingredients: Swap the cherry pie filling for blueberry or apple pie filling if you want a different flavor while keeping the same buttery crust and crumb structure.
Quick Version: Skip the rolled oats in the crumb topping if you’re short on time or don’t have them on hand — the topping still turns out golden and crisp without them.
Gluten-Free Version: Substitute a 1:1 gluten-free all-purpose flour blend in both the crust and crumb topping, since the rest of the ingredients are naturally gluten-free.
Troubleshooting Common Problems
Problem: The bars fall apart when sliced. Solution: Make sure they’ve cooled completely on the wire rack before cutting, since warm filling hasn’t set enough to hold the layers together.
Problem: The crumb topping turns too dark before the filling bubbles. Solution: Tent the pan loosely with aluminum foil for the remainder of the bake time so the top doesn’t overcook.
How to Store and Reheat Cherry Pie Bars
| Storage Method | Duration | Best Practice |
|---|---|---|
| Room Temperature | Up to 2 days | Keep covered in an airtight container |
| Refrigerator | Up to 5 days | Store in an airtight container |
| Freezer | Up to 3 months | Wrap squares individually before freezing |
These bars taste great cold or at room temperature, so reheating isn’t required. If you want them warm, a few seconds in the microwave will soften the filling and bring back that fresh-baked smell without drying out the crust.
Leftover cherry pie bars are great crumbled over vanilla ice cream or yogurt for a quick next-day treat instead of just eating them plain again.
FAQs About Cherry Pie Bars
Can I make Cherry Pie Bars ahead of time?
Yes, these bars hold up well made a day or two in advance. Store them covered at room temperature or in the refrigerator, then slice right before serving for the cleanest cuts.
Can I use a different pie filling?
Yes, any canned pie filling works in place of cherry, including blueberry, apple, or peach. The crust and crumb topping stay the same regardless of which filling you choose.
Why did my crust turn out soggy?
A soggy crust usually means it wasn’t pre-baked long enough before the filling went on. Stick to the 10-12 minute pre-bake time so the crust sets before it has to hold the cherry filling.
Can I freeze Cherry Pie Bars?
Yes, these freeze well for up to 3 months. Wrap individual squares tightly and thaw them at room temperature before serving.
How do I know when the bars are done baking?
Look for a golden brown crumb topping and filling that’s visibly bubbling at the edges of the pan. If the topping looks pale and the filling isn’t bubbling, give it a few more minutes.
Honestly, these cherry pie bars are the dessert I make when I want pie flavor without the pie-crust stress, I mean it. Save this recipe to Pinterest so it’s there the next time a potluck sneaks up on you. Drop a comment below and let me know if you try the oats in the topping or skip them.
Buttery Cherry Pie Bars with a golden crumb topping and juicy cherry filling — all the flavor of pie in an easy-to-slice bar. Save this recipe for your next potluck or holiday dessert table.
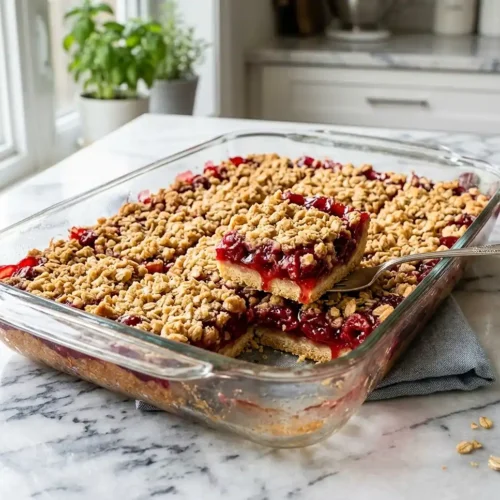
Cherry Pie Bars
Equipment
- 9×13 inch baking pan
- Large mixing bowl
- Medium Mixing Bowl
- Pastry blender or food processor
- Wire rack
- Aluminum foil
Ingredients
Crust
- 2 ¼ cups All-purpose flour
- ¾ cup Granulated sugar
- ¾ cup Cold unsalted butter, cut into cubes
- ½ teaspoon Salt
Cherry Filling
- 2 cans (21 ounces each) Cherry pie filling
- ½ teaspoon Almond extract Optional
Crumb Topping
- Remaining crust mixture
- ½ cup Rolled oats Optional, for extra crunch
Instructions
- Preheat your oven to 375°F (190°C). Grease and flour a 9×13 inch baking pan.
- In a large bowl, combine the all-purpose flour, granulated sugar, and salt. Cut in the cold butter using a pastry blender, your fingertips, or a food processor until the mixture resembles coarse crumbs.
- Reserve about 1 1/2 cups of this mixture for the crumb topping. Press the remaining mixture evenly into the bottom of the prepared baking pan to form the crust.
- Bake for 10-12 minutes, or until lightly golden. Remove from oven.
- In a medium bowl, combine the cherry pie filling and almond extract (if using). Spread the cherry filling evenly over the partially baked crust.
- To the reserved crumb mixture, add the rolled oats (if using) and mix well. Sprinkle this crumb topping evenly over the cherry filling.
- Return the pan to the oven and bake for an additional 25-30 minutes, or until the topping is golden brown and the filling is bubbly. If the topping browns too quickly, you can loosely tent it with aluminum foil.
- Let the cherry pie bars cool completely on a wire rack before cutting into squares and serving. This is crucial for the bars to set properly.