Oreo Delight Dessert Cups
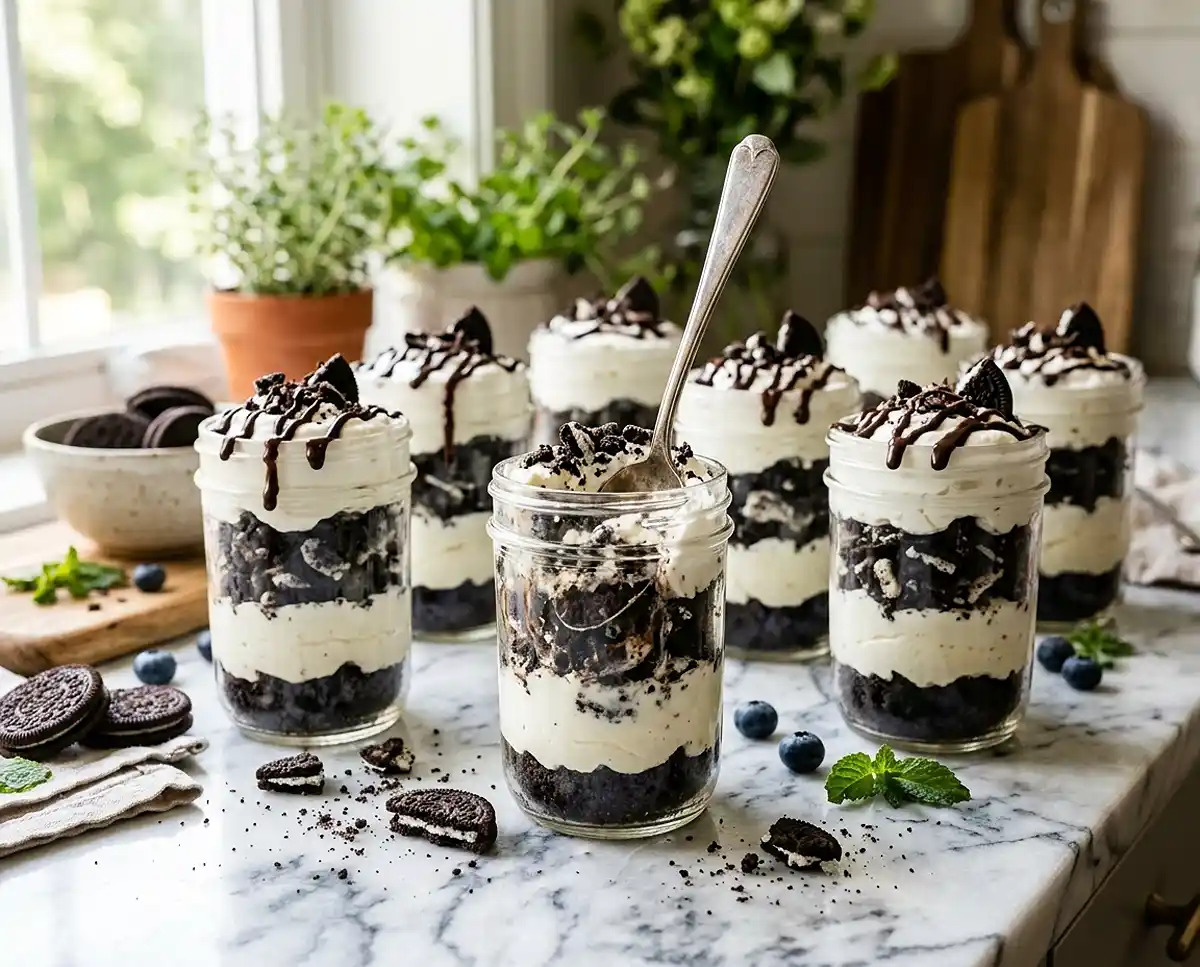
These easy Oreo Delight Dessert Cups are no-bake, creamy, and ready in minutes. Make them ahead for parties, holidays, or any night you need something sweet.
Oreo Delight Dessert Cups are individual no-bake desserts layered with an Oreo cookie crust, sweetened cream cheese filling, whipped topping, and crushed Oreos.
This recipe serves 12 to 18 cups depending on cup size, delivers a rich and creamy texture with a satisfying crunch, and is perfect for parties, potlucks, and make-ahead treats.
I’ll be real with you — I’ve brought these Oreo Delight Dessert Cups to three different gatherings and they’re gone every single time before I even get one. The thing nobody tells you? The crust-to-filling ratio matters. Too little crust and the whole cup slides around. One to two tablespoons, packed firmly, is the sweet spot.
These dessert cups have that classic potluck-table kind of charm that disappears fast once people spot them. If this one already feels like a keeper, don’t miss more easy nostalgic summer desserts.
Table of Contents
Why You’ll Love These Oreo Delight Dessert Cups
These no-bake Oreo dessert cups are creamy, crunchy, and genuinely easy to pull together with ingredients you probably already have.
You don’t need an oven, a stand mixer, or any fancy equipment. A hand mixer and a bowl handle all of it.
They’re individually portioned, which means no slicing, no serving mess, and no fighting over corner pieces.
And because they chill ahead of time, you’re actually more relaxed at the party than everyone else.
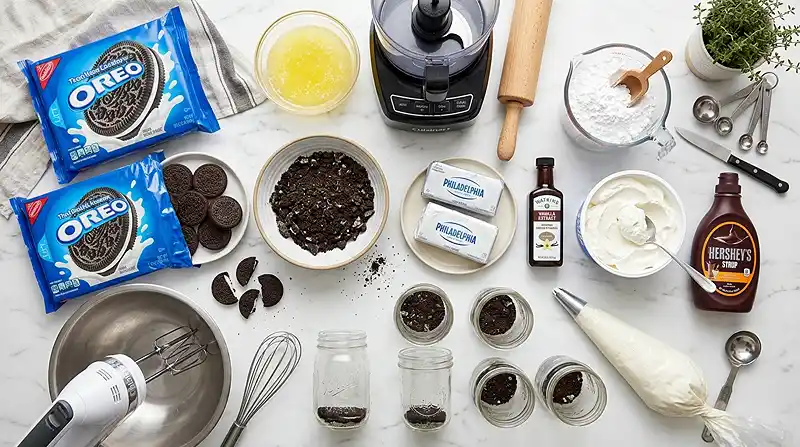
What Ingredients Do You Need for Oreo Delight Dessert Cups?
| Ingredient Group | Ingredient | Amount | Notes |
|---|---|---|---|
| Crust | Oreo cookies (for crust) | 24 cookies | Crushed to fine crumbs |
| Crust | Butter, melted | 1/2 cup | Binds the crumb crust |
| Filling | Cream cheese, softened | 2 (8 oz) packages | Must be fully softened |
| Filling | Powdered sugar | 1 cup | Sifted is ideal |
| Filling | Vanilla extract | 1 teaspoon | Pure, not imitation |
| Topping | Whipped topping, thawed | 1 (12 oz) container | Divided, used in two layers |
| Topping | Oreo cookies (for topping) | 12 cookies | Crushed into larger pieces |
| Optional | Chocolate syrup | To taste | For drizzling on top |
Good cream cheese is the backbone of the filling — make sure it’s fully softened before you beat it, or you’ll end up with lumps that don’t blend out.
The whipped topping keeps things light. Generic store brands work just as well as name brands here.
How to Make Oreo Delight Dessert Cups Step by Step
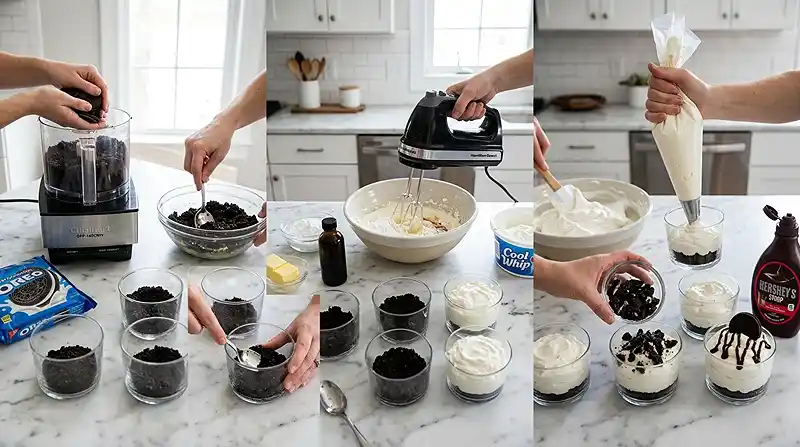
Make the Crust
- Crush 24 Oreo cookies into fine crumbs using a food processor or by placing them in a zip-lock bag and rolling with a rolling pin.
- Combine the crushed crumbs with the melted butter in a medium bowl until fully mixed.
- Press 1 to 2 tablespoons of the crust mixture firmly into the bottom of each serving cup.
Pro Tip: Let the butter-crumb mixture cool for two minutes before pressing. It firms up faster and holds its shape better.
Make the Filling
- Beat the softened cream cheese, powdered sugar, and vanilla extract together in a large bowl until completely smooth and creamy.
- Gently fold half of the thawed whipped topping into the cream cheese mixture using a spatula.
Pro Tip: Fold, don’t stir. Stirring deflates the whipped topping and you’ll lose that light, mousse-like texture.
Assemble and Chill
- Spoon or pipe the cream cheese filling over the Oreo crust in each cup.
- Crush the remaining 12 Oreo cookies into larger pieces and sprinkle them over the cream cheese layer.
- Top each cup with the remaining whipped topping.
- Drizzle with chocolate syrup if desired.
- Refrigerate for at least 2 hours before serving to allow the dessert to fully set.
Pro Tip: The 2-hour chill is non-negotiable. Cutting it short means a loose filling that won’t hold its layers when you eat it.
Love easy no-bake treats? Check out these no-bake Oreo cheesecake bites for another quick Oreo fix.
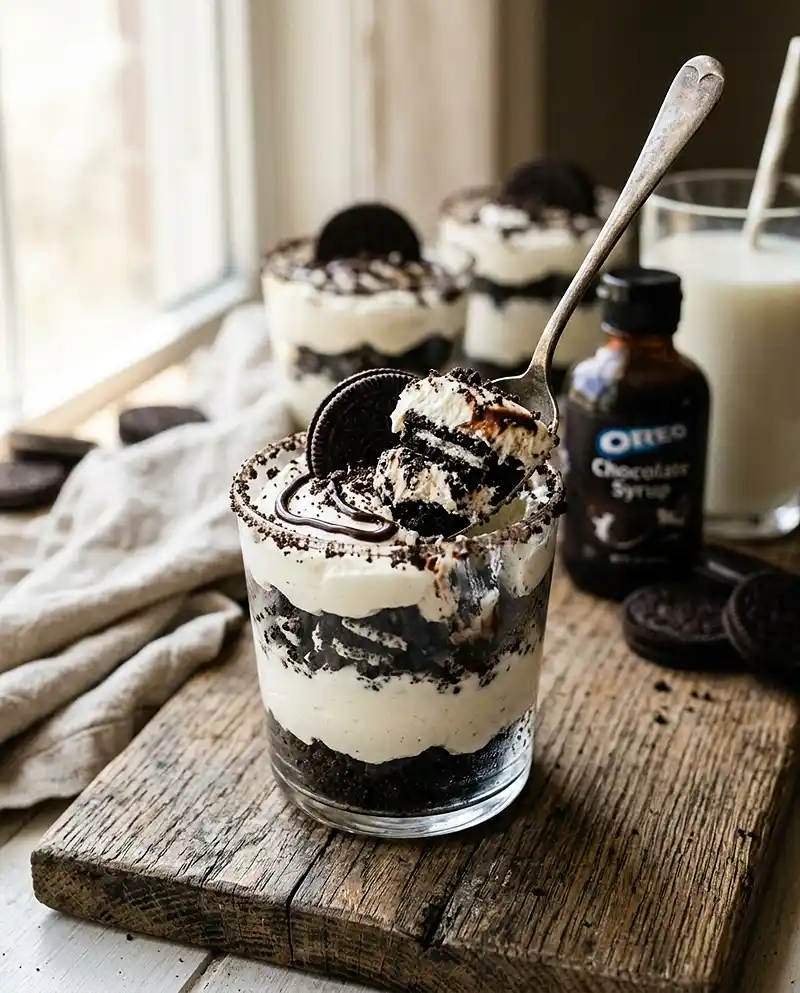
Expert Tips for Perfect Oreo Delight Dessert Cups
Pro Tips for Success
The key to a clean, set filling is chilling the cups for the full two hours. Rushing this step means a loose, messy dessert that won’t hold its layers.
Beat the cream cheese until it’s completely smooth before adding anything else. Any lumps at this stage will stay in the final dessert.
For best results, fold the whipped topping in gently with a spatula — don’t stir. Stirring deflates it and you lose that airy, mousse-like texture.
The most common mistake is pressing the crust in while the butter is still very warm. Let the mixture cool two minutes first so it firms up properly when packed.
Oreo Delight Dessert Cups work best when served cold — pull them straight from the fridge right before you set them out on the table.
Delicious Variations
For a lighter version of these creamy Oreo treats, swap regular cream cheese for reduced-fat and use a light whipped topping. The texture stays rich and mousse-like.
Gluten-free Oreos exist and they work as a perfect 1:1 swap, making these chocolate delight cups accessible for guests with gluten sensitivities.
For a quick version, skip the piping bag and just spoon the filling in. It looks just as good and saves you five minutes of cleanup.
If you enjoy individual no-bake desserts, you’ll also love these no-bake strawberry cheesecake cups for a fruity twist.
Troubleshooting Common Problems
Problem: Crust crumbles when eating.
Solution: The butter ratio was off. Use exactly 1/2 cup melted butter for 24 crushed cookies — measure it, don’t eyeball it.
Problem: Filling is runny after chilling.
Solution: The cream cheese wasn’t fully softened, or the whipped topping was still partially frozen. Both must be fully at room temp or thawed before mixing.
How to Store and Reheat Oreo Delight Dessert Cups
| Storage Method | Duration | Best Practice |
|---|---|---|
| Room Temperature | Up to 2 hours | Keep covered; serve promptly |
| Refrigerator | Up to 4 days | Cover tightly with plastic wrap or lid |
| Freezer | Up to 1 month | Wrap individually; thaw overnight in fridge |
These cups don’t reheat — they’re meant to be served cold straight from the fridge. Pull them out 5 to 10 minutes before serving if you want the crust slightly softer.
Leftover cups make an excellent next-day snack. The crust softens slightly overnight, which some people actually prefer over the just-made texture.
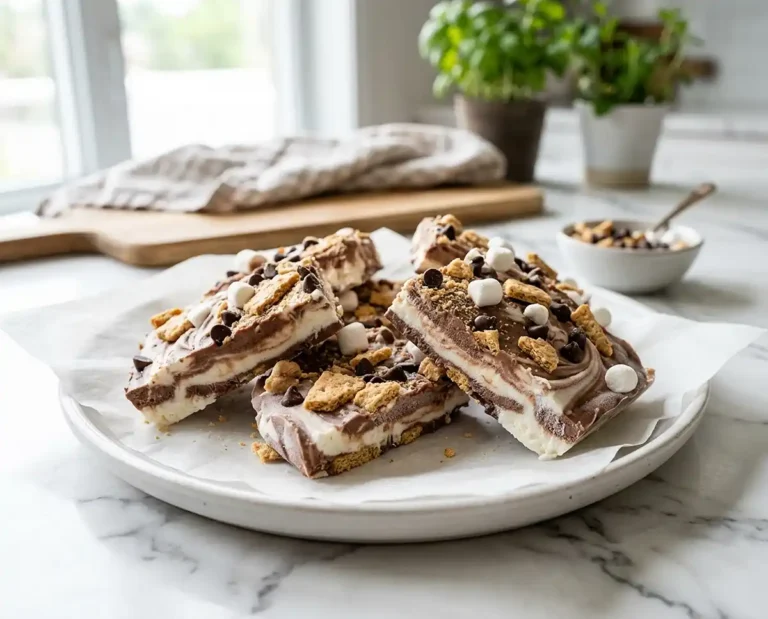
Want more make-ahead desserts? This s’mores icebox cake is another no-bake option that sets overnight and serves a crowd.
FAQs About Oreo Delight Dessert Cups
Can I make Oreo Delight Dessert Cups ahead of time?
Yes. These cups are actually better made a day ahead. They need at least 2 hours to set, and overnight chilling firms up the layers even more.
Assemble completely, cover tightly, and refrigerate up to 24 hours before serving.
Can I freeze Oreo Delight Dessert Cups?
You can freeze them for up to one month. Wrap each cup individually before placing in a freezer-safe bag or container.
Thaw overnight in the refrigerator. Don’t thaw at room temperature — the filling can become watery.
What size cups should I use?
Standard 9-ounce clear plastic cups or small mason jars both work well. The recipe fills approximately 12 to 18 cups depending on how generously you layer them.
Smaller 5-ounce cups make great bite-sized portions for large parties.
Can I substitute the whipped topping with real whipped cream?
You can, but the texture will be slightly different. Real whipped cream is less stable and may not hold its shape as long, especially at room temperature.
If using real whipped cream, keep the cups refrigerated right up until serving time.
How do I know when the filling is set and ready to serve?
The filling should feel firm to a gentle press and not jiggle when you shake the cup lightly. Two hours of refrigeration is the minimum for this.
If the center still looks soft or wet after 2 hours, give it another 30 to 60 minutes in the fridge.
Share Your Oreo Delight Dessert Cups
Seriously, make these once and you’ll understand why they disappear so fast. They’re the kind of dessert that gets you recipe requests before the party’s even over.
Save this to your Pinterest boards so you can find it fast next time someone asks you to bring dessert — I mean it, you will need it again.
Drop a comment below and tell me if you added the chocolate drizzle. Honestly, I need to know.
And if you’re on a no-bake roll, don’t miss these frozen berry cream pie cups — same easy format, totally different flavor.
Creamy no-bake Oreo Delight Dessert Cups with a buttery cookie crust and fluffy cream cheese filling. The easiest crowd-pleasing dessert you’ll make all year. Save it now!

Oreo Delight Dessert Cups
Equipment
- Food processor or rolling pin
- Medium Mixing Bowl
- Large mixing bowl
- Hand mixer
- Spatula
- Serving cups (9 oz or small mason jars)
- Piping bag (optional)
Ingredients
Crust
- 24 cookies Oreo cookies Crushed into fine crumbs
- ½ cup Butter, melted Binds the crumb crust
Filling
- 2 8 oz packages Cream cheese, softened Must be fully softened
- 1 cup Powdered sugar Sifted is ideal
- 1 tsp Vanilla extract Pure, not imitation
Topping
- 1 12 oz container Whipped topping, thawed Divided, used in two layers
- 12 cookies Oreo cookies Crushed into larger pieces
Optional
- to taste Chocolate syrup For drizzling on top
Instructions
- Crush 24 Oreo cookies into fine crumbs using a food processor or by placing them in a zip-lock bag and rolling with a rolling pin.
- Combine the crushed crumbs with the melted butter in a medium bowl until fully mixed. Let cool for 2 minutes.
- Press 1 to 2 tablespoons of the crust mixture firmly into the bottom of each serving cup.
- Beat the softened cream cheese, powdered sugar, and vanilla extract together in a large bowl until completely smooth and creamy.
- Gently fold half of the thawed whipped topping into the cream cheese mixture using a spatula — fold, don’t stir.
- Spoon or pipe the cream cheese filling over the Oreo crust in each cup.
- Crush the remaining 12 Oreo cookies into larger pieces and sprinkle them over the cream cheese layer.
- Top each cup with the remaining whipped topping.
- Drizzle with chocolate syrup if desired.
- Refrigerate for at least 2 hours before serving to allow the dessert to fully set.