No-Bake Oreo Cream Pie Cups
These No-Bake Oreo Cream Pie Cups take 20 minutes of hands-on work and taste like pure Oreo joy. No oven, no fuss, and everyone asks for the recipe.
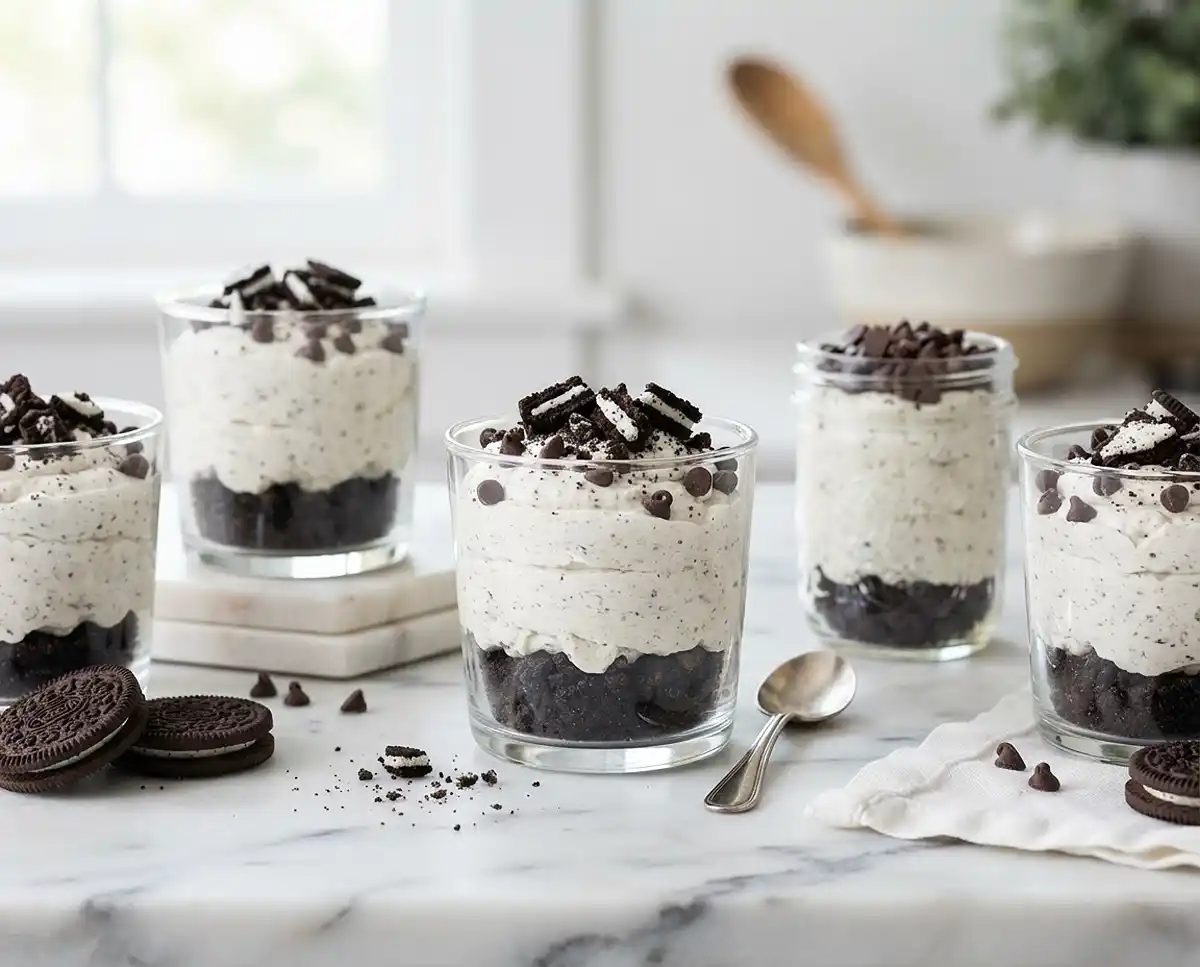
No-Bake Oreo Cream Pie Cups are individual layered desserts made with a crushed Oreo crust and a fluffy cream cheese filling, no oven required. This recipe serves 12, delivers a rich, chocolatey pie in single-serving cups with zero baking time, and is perfect for potlucks, birthday parties, or any weeknight you want dessert without heating up the kitchen.
I’ve made these No-Bake Oreo Cream Pie Cups more times than I can count, and the crust-to-filling ratio took me three tries to get right. The first batch, I skipped the fifteen-minute chill on the crust and it fell apart the second I touched a spoon to it. Now I know better, and so will you.
Table of Contents
Why You’ll Love This No-Bake Oreo Cream Pie Cups Recipe
These cups are creamy, cool, and packed with real Oreo crunch in every single bite. There’s no oven, no baking time, and no fuss beyond about fifteen minutes of prep before the fridge does the rest of the work. Kids can help crush the cookies and layer the cups, and adults appreciate that it’s built from ingredients most people already have on hand. It’s the kind of easy no-bake dessert that disappears fast at potlucks.
What Ingredients Do You Need for No-Bake Oreo Cream Pie Cups?
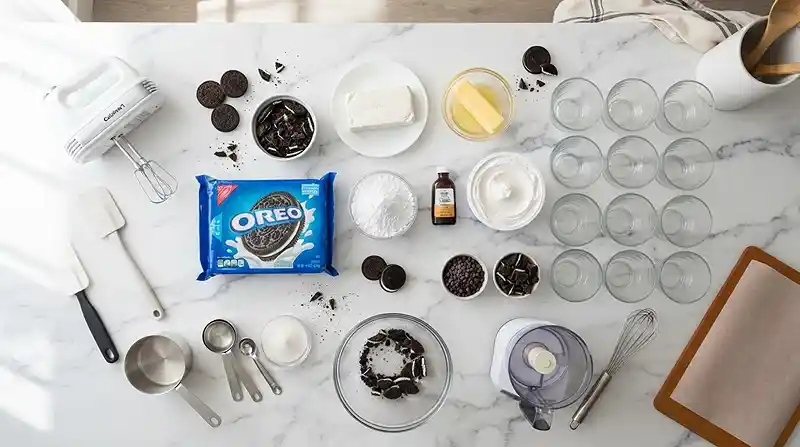
| Ingredient Group | Ingredient | Amount | Notes |
|---|---|---|---|
| Crust | Oreo cookies | 1 package (14.3 oz) | About 30-36 cookies |
| Crust | Unsalted butter, melted | 1/2 cup (1 stick) | Binds the crumbs |
| Filling | Cream cheese, softened | 1 package (8 oz) | Must be fully softened |
| Filling | Powdered sugar | 1 cup | Sweetens the filling |
| Filling | Vanilla extract | 1 teaspoon | |
| Filling | Whipped topping, thawed | 1 container (8 oz) | Folded in, not stirred |
| Garnish | Mini chocolate chips or crushed Oreos | Optional | For topping |
The whole recipe leans on one bag of Oreo cookies doing double duty, since you’re using the same crushed cookies for both the crust and the garnish on top. Softened cream cheese matters more than people think here. Cold cream cheese leaves lumps in your Oreo dessert cups no amount of mixing can fully smooth out.
How to Make No-Bake Oreo Cream Pie Cups Step by Step
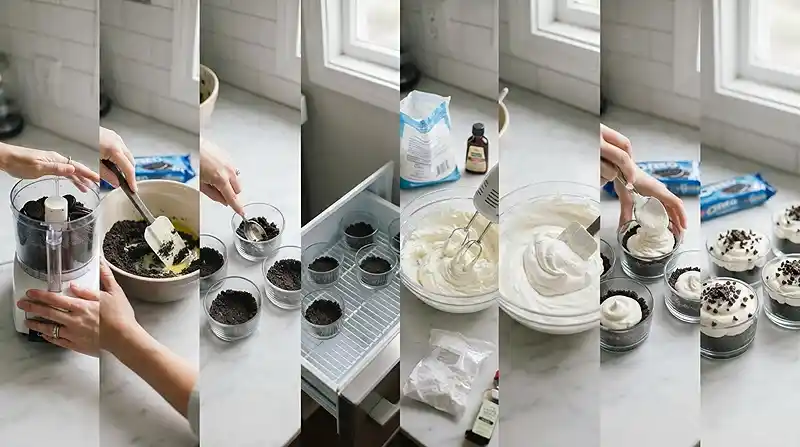
Make the Oreo Crust
- In a food processor, finely crush the Oreo cookies (about 30-36 cookies).
- Reserve about 1/4 cup of the crushed cookies for topping, if desired.
- In a medium bowl, combine the remaining crushed Oreos with the melted butter.
- Mix until well combined.
💡 If you don’t have a food processor, crushed Oreos in a zip-top bag with a rolling pin work almost as well.
- Divide the Oreo mixture evenly among 12 individual serving cups (small ramekins, mason jars, or clear plastic cups all work).
- Press the mixture firmly into the bottom of each cup to form the crust.
- Chill the crusts in the refrigerator for at least 15 minutes to let them set.
Pro Tip: Skipping the chill step is the number one reason an Oreo crust crumbles instead of holding its shape.
Mix the Cream Filling
- In a large bowl, beat the softened cream cheese with an electric mixer until smooth and creamy.
- Add the powdered sugar and vanilla extract, and beat until fully incorporated and smooth.
- Gently fold in the thawed whipped topping until no streaks remain.
💡 Fold with a spatula, not the mixer, or you’ll deflate the whipped topping and end up with a denser filling.
Assemble and Chill
- Spoon or pipe the cream filling over the chilled Oreo crusts in each cup.
- Smooth the tops with a spoon or offset spatula.
- Cover the cups and refrigerate for at least 2-4 hours, or preferably overnight, to let the pie set.
- Before serving, garnish with reserved crushed Oreos, mini chocolate chips, or extra whipped topping, if desired.
Pro Tip: An overnight chill gives the cleanest layers when you cut into the filling with a spoon.
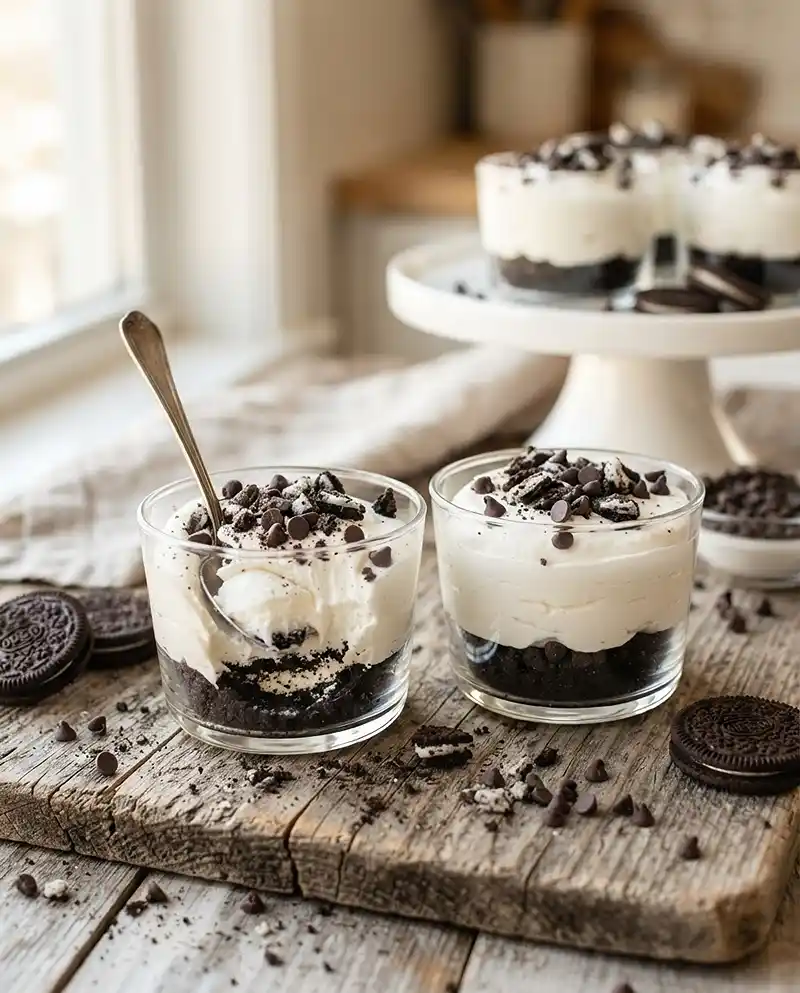
Expert Tips for Perfect No-Bake Oreo Cream Pie Cups
Pro Tips for Success
The key to a firm, sliceable crust is pressing the Oreo mixture down hard with the back of a spoon, not just scattering it into the cup. For best results, let the cream cheese sit out for a full 30 minutes before mixing, since rushing this step is what causes lumps. The most common mistake is folding in the whipped topping too aggressively — instead, use slow, gentle strokes and stop as soon as the streaks disappear. No-Bake Oreo Cream Pie Cups work best when they get the full overnight chill, so the filling firms up enough to hold a clean edge. A wide, flat offset spatula makes smoothing the tops far easier than a regular spoon.
Delicious Variations
Quick Version: Skip the individual cups and press the crust into one 9-inch pie dish, then top with the same filling for a single big Oreo dessert. Dairy-Free Version: Swap in dairy-free cream cheese and a coconut-based whipped topping, and the texture holds up surprisingly well. Alternative Ingredients: Swap regular Oreos for a seasonal flavor like mint or peanut butter Oreos to change the whole personality of these chocolate cream pie cups.
Troubleshooting Common Problems
Problem: The crust won’t hold together and crumbles when pressed. Solution: Add another tablespoon of melted butter and press it in more firmly before chilling.
Problem: The filling looks lumpy instead of smooth. Solution: The cream cheese wasn’t fully softened — let it sit at room temperature longer next time, or microwave it in 10-second bursts.
How to Store and Reheat No-Bake Oreo Cream Pie Cups
| Storage Method | Duration | Best Practice |
|---|---|---|
| Room Temperature | Under 2 hours | Cover loosely, keep away from heat |
| Refrigerator | Up to 4 days | Cover tightly with plastic wrap or lids |
| Freezer | Up to 2 months | Wrap individually, thaw in the fridge overnight |
These Oreo dessert cups aren’t reheated since they’re served cold, but a frozen batch needs a slow thaw in the refrigerator so the filling doesn’t turn watery. If you’ve got a couple of cups left after a party, they make a great grab-and-go breakfast treat the next morning, or you can scoop the filling over ice cream for a quick mash-up dessert.
FAQs About No-Bake Oreo Cream Pie Cups
Can I make these ahead of time?
Yes, these are actually better made ahead. Prepare them up to 2 days in advance and keep them covered in the refrigerator until you’re ready to serve.
Can I use a different cookie instead of Oreos?
Any chocolate sandwich cookie works as a substitute, though the flavor and sweetness will shift slightly. Golden sandwich cookies also work if you want a lighter-colored crust.
Why is my filling runny instead of firm?
The whipped topping likely wasn’t fully thawed, or the mixture didn’t get enough chill time. Stick to the full 2-4 hour minimum, and overnight if you have the time.
Can I freeze No-Bake Oreo Cream Pie Cups?
Yes, they freeze well for up to 2 months when wrapped individually. Thaw them in the refrigerator overnight rather than at room temperature to keep the texture creamy.
How do I make this recipe gluten-free?
Swap the regular Oreo cookies for a gluten-free chocolate sandwich cookie of the same size. Everything else in the recipe, including the cream filling, is already gluten-free as written.
Grab a Spoon and Make These Tonight
Honestly, these No-Bake Oreo Cream Pie Cups are one of those desserts you’ll keep coming back to because they’re just that easy. Seriously, if you’ve got a food processor and a fridge, you’ve got what it takes. If you loved these, you’ll probably also want to try these no-bake key lime pie jars or these no-bake strawberry cheesecake cups next. Save this one to Pinterest and let me know in the comments how yours turned out — I mean it, I read every one.
Creamy, crunchy No-Bake Oreo Cream Pie Cups made with an Oreo crust and fluffy cream cheese filling. No oven needed — just chill and serve. Save this easy Oreo dessert cup recipe for your next potluck or party!
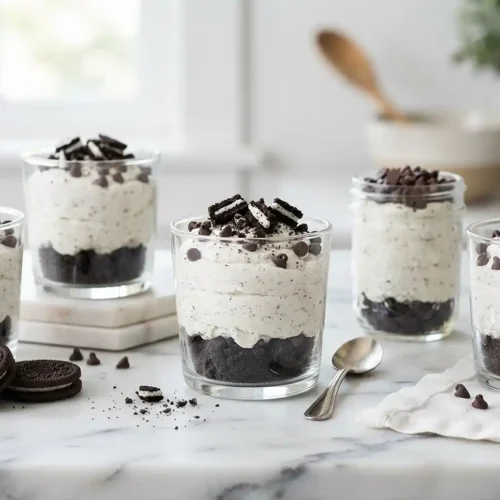
No-Bake Oreo Cream Pie Cups
Equipment
- Food processor
- Medium bowl
- Large bowl
- Electric mixer
- 12 individual serving cups
- Offset Spatula
Ingredients
Crust
- 1 package (14.3 oz) Oreo cookies About 30-36 cookies
- ½ cup (1 stick) Unsalted butter, melted
Filling
- 1 package (8 oz) Cream cheese, softened
- 1 cup Powdered sugar
- 1 teaspoon Vanilla extract
- 1 container (8 oz) Whipped topping, thawed
Garnish
- Mini chocolate chips or crushed Oreos Optional, for topping
Instructions
- In a food processor, finely crush the Oreo cookies (about 30-36 cookies).
- Reserve about 1/4 cup of the crushed cookies for topping, if desired.
- In a medium bowl, combine the remaining crushed Oreos with the melted butter.
- Mix until well combined.
- Divide the Oreo mixture evenly among 12 individual serving cups (small ramekins, mason jars, or clear plastic cups all work).
- Press the mixture firmly into the bottom of each cup to form the crust.
- Chill the crusts in the refrigerator for at least 15 minutes to let them set.
- In a large bowl, beat the softened cream cheese with an electric mixer until smooth and creamy.
- Add the powdered sugar and vanilla extract, and beat until fully incorporated and smooth.
- Gently fold in the thawed whipped topping until no streaks remain.
- Spoon or pipe the cream filling over the chilled Oreo crusts in each cup.
- Smooth the tops with a spoon or offset spatula.
- Cover the cups and refrigerate for at least 2-4 hours, or preferably overnight, to let the pie set.
- Before serving, garnish with reserved crushed Oreos, mini chocolate chips, or extra whipped topping, if desired.