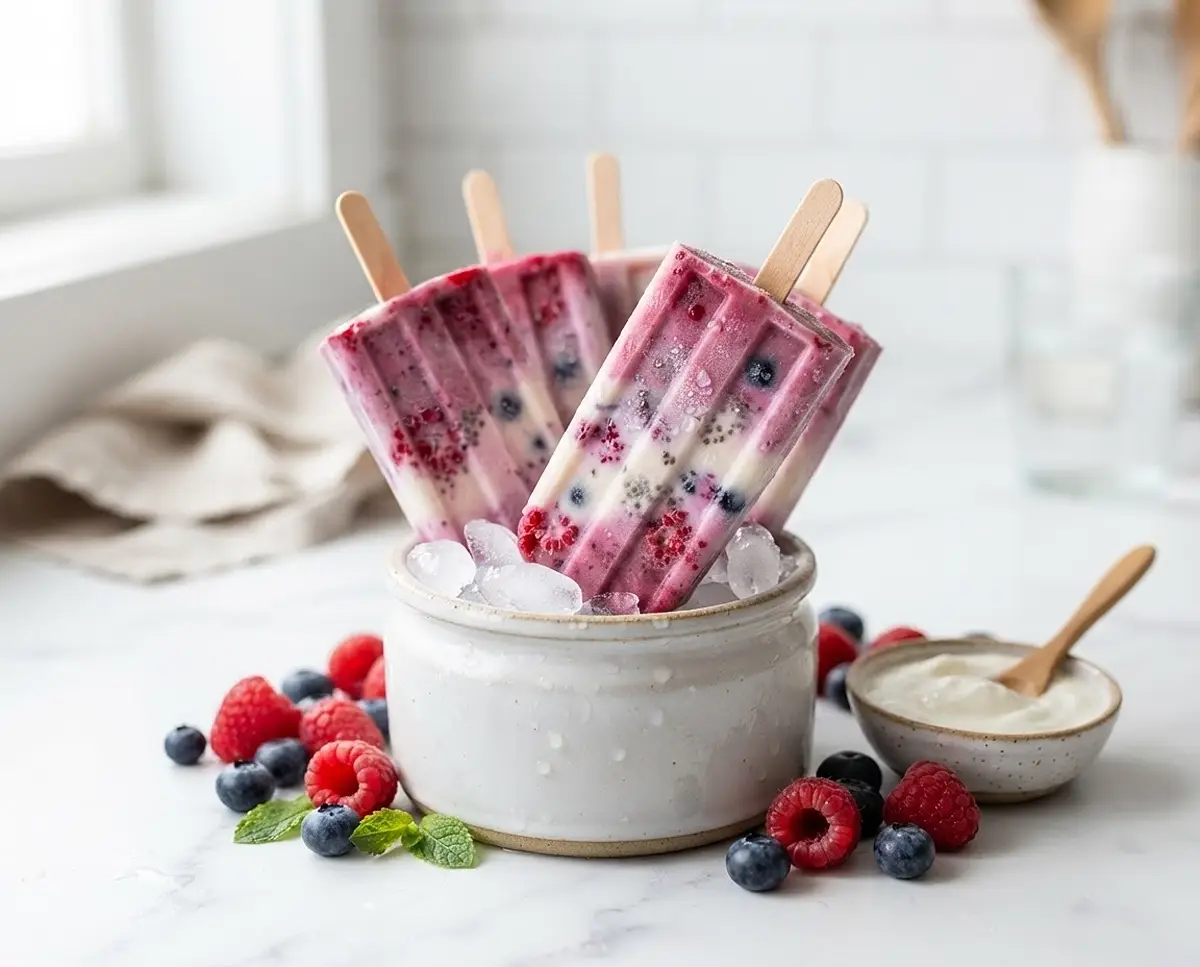
Berry Electrolyte Yogurt Pops
These berry electrolyte yogurt pops are the frozen treat I reach for after every hot walk. Creamy, tangy, and genuinely hydrating. Try a batch this week.
Berry Electrolyte Yogurt Pops are frozen popsicles made by blending mixed berries, plain Greek yogurt, and electrolyte water into a smooth base, then freezing it solid. This recipe makes about 6 pops, delivers a creamy, tangy-sweet frozen snack with real hydration built in, and is perfect for post-workout recovery, hot summer days, or a gut-healthy snack for kids.
I started making Berry Electrolyte Yogurt Pops on the days I couldn’t choke down another sports drink after a run. My kids grabbed one straight off the tray before I’d even rinsed out the blender, which wasn’t exactly the reaction I expected from something this good for you. One thing I learned after a melted mess in my freezer: leave real space at the top of the mold, because this mixture expands more than you’d think.
Table of Contents
Why You’ll Love These Berry Electrolyte Yogurt Pops
These pops are creamy from the Greek yogurt, bright and tangy from the berries, and cold enough to actually feel refreshing on a hot afternoon. They come together in one blender pass, so there’s no cooking and barely any cleanup involved.
Kids like them because they taste like a smoothie on a stick, and adults like them because they’re an easy way to rehydrate after a workout without reaching for a sugary sports drink. The honey is optional, so you can dial the sweetness up or down depending on how ripe your berries are.
What Ingredients Do You Need for Berry Electrolyte Yogurt Pops?
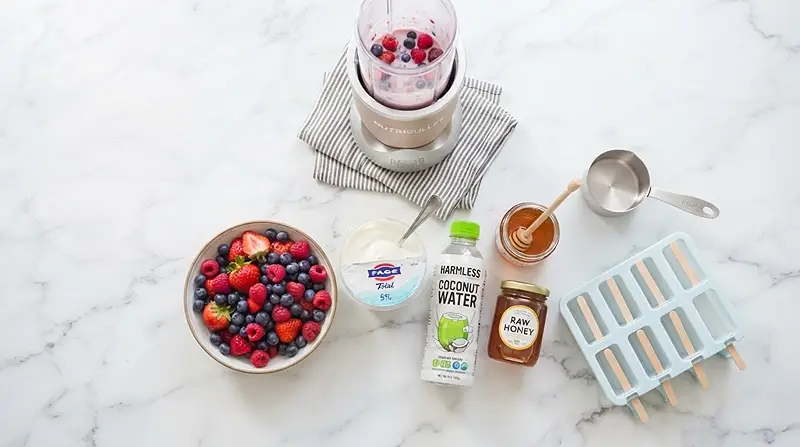
| Ingredient Group | Ingredient | Amount | Notes |
|---|---|---|---|
| Main Ingredients | Mixed berries (fresh or frozen) | 1.5 cups | Fresh or frozen both work |
| Main Ingredients | Plain Greek yogurt | 1 cup | Adds protein and creaminess |
| Main Ingredients | Electrolyte water or coconut water | 1/2 cup | Thins the base, adds hydration |
| Sweetener | Honey or maple syrup | 1-2 tablespoons | Optional, to taste |
Frozen berries actually work better here than fresh ones, since they chill the blend down fast and keep the whole batch from turning slushy before it hits the molds. Plain Greek yogurt is what makes these homemade electrolyte pops feel more like a gut-healthy snack than a straight-up ice pop, thanks to the protein it adds. If you’re out of electrolyte water, coconut water gets you most of the way there and brings its own faint sweetness along with it.
How to Make Berry Electrolyte Yogurt Pops Step by Step
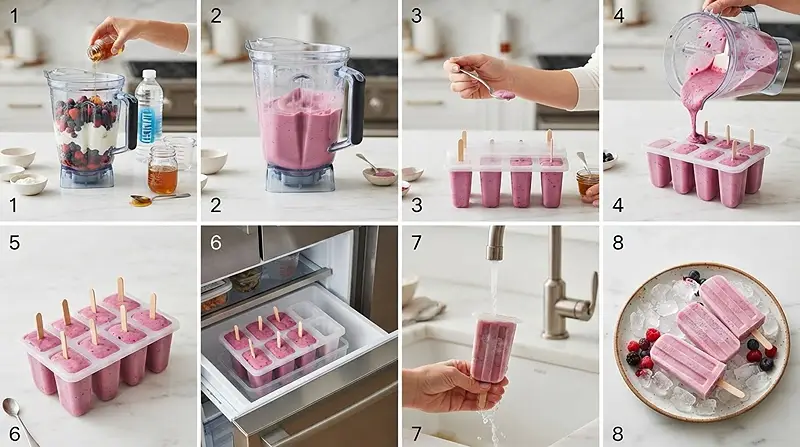
- Combine the mixed berries, Greek yogurt, electrolyte water (or coconut water), and honey or maple syrup (if using) in a blender.
💡 Frozen berries keep the mixture cold from the start, which helps it set faster once it hits the freezer.
- Blend until smooth, then taste and adjust the sweetness if you’d like it sweeter.
Pro Tip: Taste the base before you pour it — that’s your only chance to adjust the sweetness before it’s frozen solid.
- Pour the mixture into popsicle molds, leaving a little space at the top for expansion.
💡 Skipping that space at the top is the number one reason pops crack or overflow in the freezer.
- Insert the popsicle sticks and freeze for at least 4-6 hours, or until completely solid.
Pro Tip: These berry yogurt treats need the full freeze time — pulling them early means a soft, melty center instead of a clean bite.
- To remove the pops, run the molds under warm water for a few seconds if they don’t release easily.
Why This Method Works
Blending everything in one step keeps the fat from the yogurt and the water from the berries fully combined, so the pop doesn’t separate into layers as it freezes. That’s honestly the part most people get wrong with homemade pops — they rush the blend and end up with an icy bottom and a creamy top.
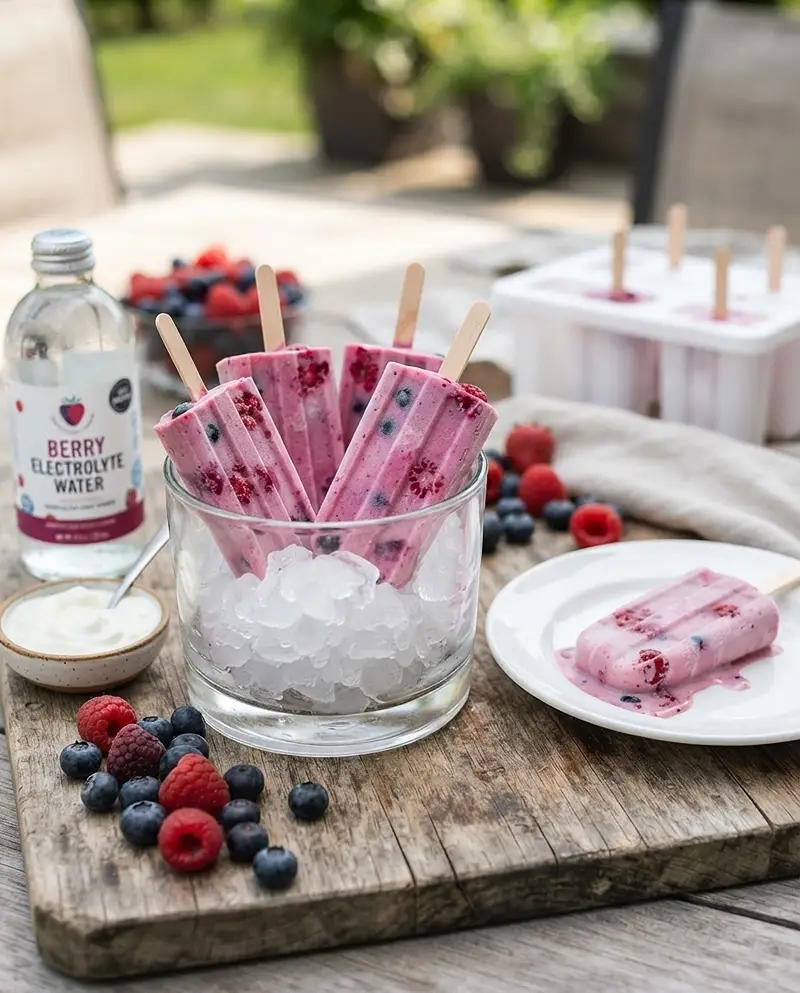
Expert Tips for Perfect Berry Electrolyte Yogurt Pops
Pro Tips for Success
The key to a smooth, scoopable texture is blending the berries and yogurt fully before the electrolyte water goes in, so you don’t end up with seedy streaks running through the pop.
For best results, use fresh, ripe berries when they’re in season, since ripe fruit cuts down on how much sweetener you actually need.
The most common mistake is overfilling the molds — instead, leave about a quarter inch of space so the mixture has room to expand as it freezes.
Berry Electrolyte Yogurt Pops work best when the yogurt is cold straight out of the fridge, since that keeps the blended mixture from warming up before it hits the mold.
If you like a little crunch, drop a few whole berries into each mold before pouring the blended base over the top.
Delicious Variations
Quick Version: Skip the sweetener entirely if your berries are ripe and sweet on their own — it shaves a step off without losing flavor.
Dairy-Free Version: Swap the Greek yogurt for a plain coconut or almond milk yogurt to turn these into dairy-free, healthy frozen pops.
Alternative Ingredients: Use any single berry you have on hand — strawberries alone, or a mix of blueberries and blackberries, both work fine in place of a mixed berry blend.
If you’re building out a whole freezer stash, my protein popsicles recipe is a good next one to try, since it uses a similar blend-and-freeze method.
Troubleshooting Common Problems
Problem: The pops won’t release from the mold. Solution: Run the mold under warm water for 5-10 seconds, which loosens the edges without melting the pop itself.
Problem: The mixture separates or looks grainy after blending. Solution: Blend for another 30-60 seconds — cold Greek yogurt sometimes needs a little extra time to fully smooth out.
How to Store and Reheat Berry Electrolyte Yogurt Pops
| Storage Method | Duration | Best Practice |
|---|---|---|
| Room Temperature | 5-10 minutes | Only to soften slightly before eating; they melt fast |
| Refrigerator | Up to 2 days (unblended base only) | Store the mixed base covered, then pour and freeze later |
| Freezer | Up to 2 months | Wrap each pop in parchment or a freezer bag once unmolded |
There’s no real reheating here since these are meant to stay frozen, but if a pop feels too hard to bite into, let it sit at room temperature for 2-3 minutes until the edges turn glossy and slightly soft. That’s your sign it’s ready to eat without turning into a puddle in your hand.
If your blended base makes more than your molds can hold, pour the extra into a small container and drink it as a chilled smoothie instead of tossing it. For another frozen dessert to keep in rotation, these frozen lemonade pie bites freeze just as well.
FAQs About Berry Electrolyte Yogurt Pops
Can I make Berry Electrolyte Yogurt Pops ahead of time?
Yes, you can blend the base up to 2 days ahead and store it covered in the refrigerator before pouring it into molds. Once frozen, the pops keep well for up to 2 months, so making a double batch ahead of a hot week works fine.
Can I substitute regular yogurt for Greek yogurt?
Regular yogurt will work, but the pops will be softer and less creamy since Greek yogurt is thicker and has less water content. If you use regular yogurt, expect a slightly icier texture once frozen.
Why did my pops turn out icy instead of creamy?
This usually happens when there’s too much electrolyte water relative to yogurt, or the base wasn’t blended long enough to fully combine. Stick to the 1/2 cup of electrolyte water and blend until completely smooth for the creamiest result.
How do I know the pops are fully frozen?
Give the stick a gentle wiggle — if it’s still loose or the pop feels soft anywhere, it needs more time. A fully frozen pop feels solid all the way through and releases cleanly from the mold with warm water.
Can I make these dairy-free or vegan?
Yes, swap the Greek yogurt for a plain dairy-free yogurt alternative like coconut or almond milk yogurt, and use maple syrup instead of honey to keep the whole recipe vegan. The texture stays close to the original, just slightly less rich.
Honestly, these are one of those recipes I make on repeat all summer, and I think you’ll get hooked just as fast. If you try them, save this recipe to Pinterest so you don’t lose it, and let me know in the comments if you swapped in a different berry — I mean it, I want to hear how it turned out. And if chocolate is more your speed, my homemade fudgesicles are worth a try too.
Berry Electrolyte Yogurt Pops are creamy, tangy, and genuinely hydrating. The frozen treat you’ll want on repeat all summer. Save this recipe for your next hot day or post-workout craving.
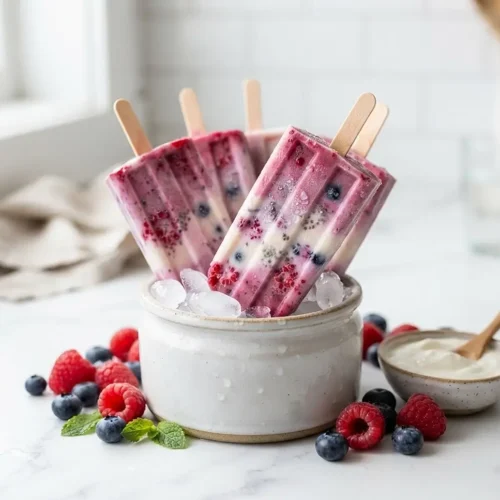
Berry Electrolyte Yogurt Pops
Equipment
- Blender
- Popsicle molds
- Popsicle sticks
Ingredients
Main Ingredients
- 1.5 cups Mixed berries (fresh or frozen)
- 1 cup Plain Greek yogurt
- ½ cup Electrolyte water or coconut water
Sweetener
- 1-2 tablespoons Honey or maple syrup Optional, to taste
Instructions
- Combine the mixed berries, Greek yogurt, electrolyte water (or coconut water), and honey or maple syrup (if using) in a blender.
- Blend until smooth. Taste and adjust sweetness if desired.
- Pour the mixture into popsicle molds, leaving a little space at the top for expansion.
- Insert popsicle sticks and freeze for at least 4-6 hours, or until solid.
- To remove, run the molds under warm water for a few seconds if needed.